
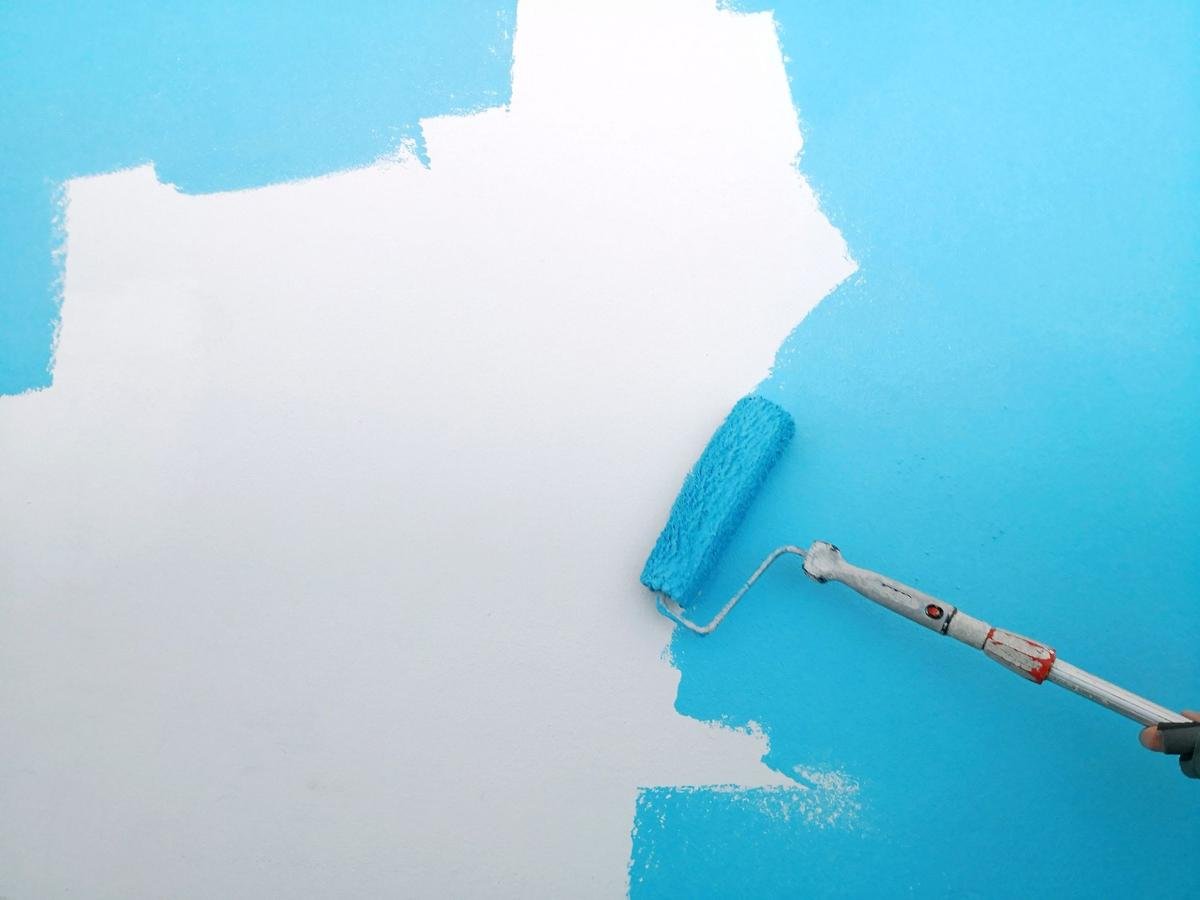
Mastering roller painting is key to any home renovation. Rollers excel at covering large surfaces like walls and ceilings, thanks to their porous texture that holds and distributes paint effectively.
Using a roller is a must for any painting project. They come in various textures and sizes, making them versatile and affordable, perfect for different tasks.
With so many roller options available, it can be overwhelming. However, our expert tips will simplify the painting process and enhance your results.
Techniques for Roller Painting
Whether you're working on a wall or a ceiling, rollers can significantly speed up your painting job. Here are some techniques for achieving a professional look.
1. Choose Quality Rollers and Tools
While it might be tempting to buy a cheap roller to discard after use, investing in a high-quality roller frame and tray pays off. A wider roller and tray will cover more area efficiently, so consider this when shopping.
Opt for a roller frame with a hollow or threaded handle. This feature allows for an extension pole, which can make painting ceilings and high walls easier, as noted by experts.
2. Select the Right Roller Sleeve
Roller sleeves come in wool, natural fibers, or synthetic options like polyester. The roughness of your wall determines the sleeve's length. For textured surfaces, use a long-pile wool roller, while smooth walls call for a foam roller.
Experts recommend a short-pile sleeve with a thickness of 6-8 mm for excellent coverage and smooth results.
3. Protect Your Eyes
Painting with rollers can lead to splatters, especially when tackling ceilings. Protect your eyes with goggles or glasses, and cover the area below with dust sheets.
Using high-quality, thick paint can also minimize splatter.
4. Properly Saturate the Roller
Pour your chosen paint into the tray, then gently roll the roller in the paint. Do this multiple times, using the tray's flat edge to remove excess. Ensure the roller is coated but avoid submerging it completely to prevent drips.
5. Apply Paint with Care
Before painting, prepare the walls. When ready, start in the middle of the wall and roll outwards one section at a time. Apply paint using light pressure and go up and down two or three times.
Stop just before reaching the ceiling or baseboards, then overlap slightly with the next section.
6. Address Lumps Before They Dry
Don't over-roll the same area, as this can cause uneven paint or bumps. If you see any lumps, remove them with a wet rag before they dry.
7. Use a Different Approach for Touch-Ups
When touching up, use a synthetic roller to blend color differences. Avoid using too much paint; instead, use what's already on the wall for consistent results.
8. Clean Your Roller Properly
Before cleaning your roller, scrape off excess paint using a putty knife. Rinse until the water runs clear, and allow it to dry at an angle on a clean tray.
9. Store the Roller Efficiently
If your painting project spans several days, wrap the wet roller in a plastic bag to prevent it from drying out. This will save you time at the end of each day.
10. Invest in a Roller Paint Removal Tool
To maximize your paint usage, invest in a roller paint removal tool. This handy device helps extract excess paint from the roller, allowing you to save every drop.
Best Technique for Roller Painting
Experts suggest painting in a 'W' shape, overlapping each 'W' within a 3ft square area. Keeping even, light pressure will ensure a smooth, professional finish.


