Regularly cleaning pruning shears is vital for keeping these key gardening tools sharp and functioning well. Proper maintenance can extend their life significantly, while neglecting them may lead to rust and dirt buildup that requires replacement.
Pruning shears, also known as secateurs, are indispensable for tasks like deadheading flowers and trimming branches. Unfortunately, dirt, sap, and debris can accumulate, hindering their cutting performance.
Failing to clean can result in jagged cuts that may harm plants and lead to infection. Additionally, grime in the moving parts can accelerate wear and promote rust. Fortunately, cleaning your garden tools doesn't have to be daunting; follow our straightforward guide.

5 Simple Steps to Clean Pruning Shears
Before you tackle that rose bush or tidy up forsythia, ensure your tools are spotless. While a quick wipe with soapy water can suffice, sometimes a deeper clean is necessary to prevent rust and ensure functionality.
'Taking the time to properly clean pruning shears is a quick task that yields great benefits,' notes a gardening expert. 'I often enjoy a morning spent cleaning my shears and making them operate smoothly again.'
1. Disassemble the Pruning Shears
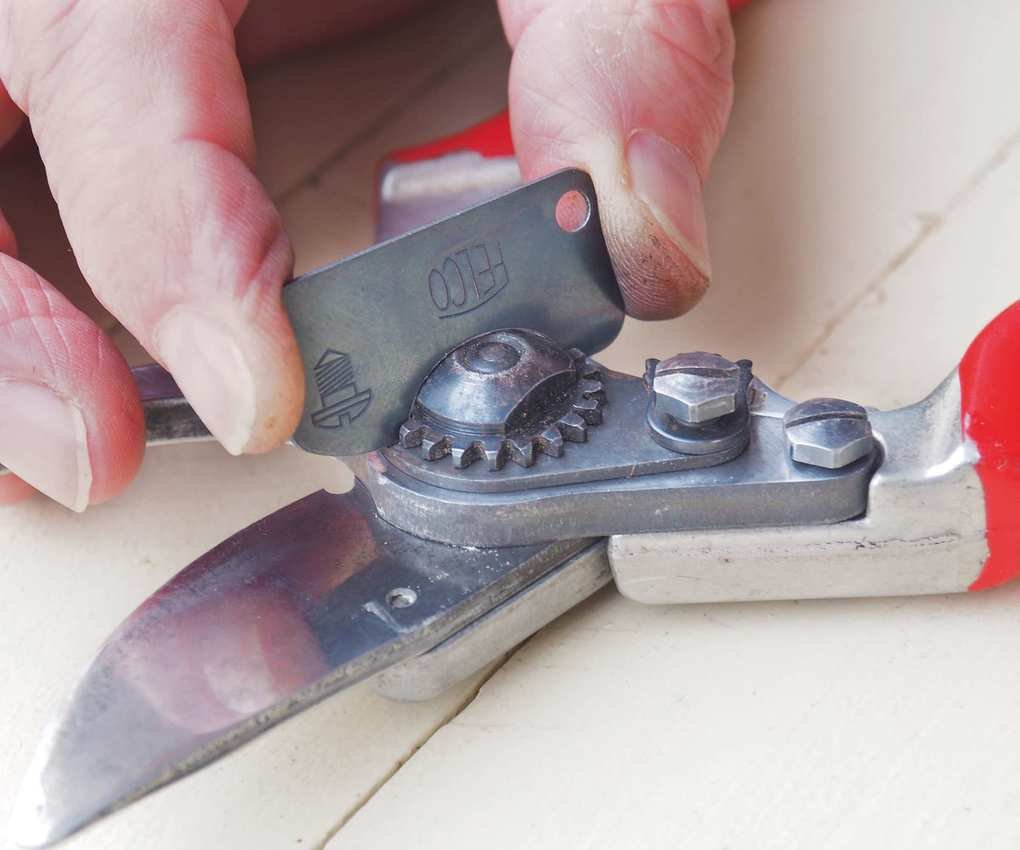
Taking apart your pruning shears makes cleaning more thorough
Begin by carefully disassembling your pruning shears using the provided key. Lay the parts out in order on a clean surface for easy reassembly.
If you lack the key, a spanner or Allen wrench can also do the job.
2. Clean the Blades
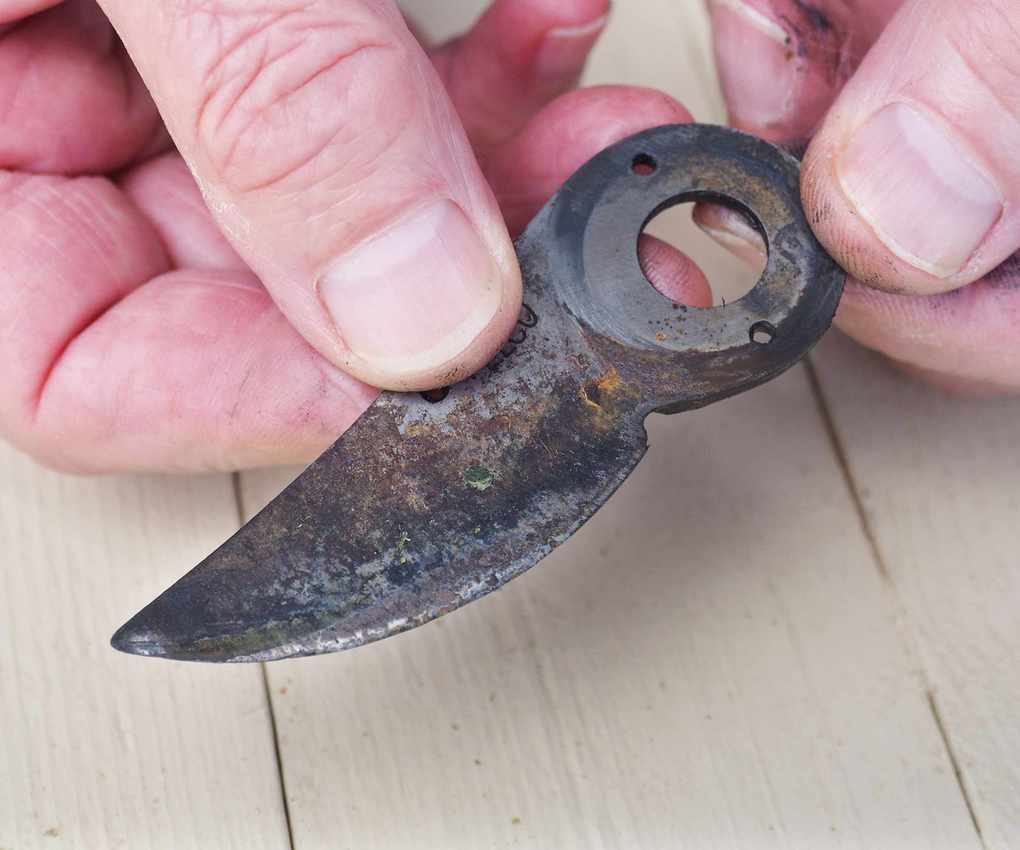
Focus on cleaning the blades thoroughly
Examine and clean each part, especially the blades, which are much simpler to clean when detached from the handles.
To tackle rust, use wire wool (available on Amazon) to scrub away rust, then wipe the blades clean.
Pro tip: For heavily soiled blades, cover them with brown sauce overnight, then wipe with a damp cloth in the morning for a rust-free clean.
3. Utilize Sandpaper as Needed

Sandpaper can help eliminate stubborn grime
If residue remains after the previous cleaning steps, use fine sandpaper. Simply place it on a flat surface and gently rub the blade against it to remove stubborn dirt.
4. Clean the Pivot Area

Ensure the pivot area is clear for smooth operation
With a clean cloth, wipe the pivot area where the top and bottom handles connect, removing excess grease, dirt, and rust particles.
5. Reassemble the Pruning Shears

Put your pruning tool back together after a thorough clean
Reassemble the secateurs by fitting the blades back into the handles, securing the handles with the pivot bolt and locking nut.
Tighten the locking nut until the spring just allows the blades to open, then secure the locking cog in place. Your shears are now ready for action.
Your Essential Cleaning Kit for Pruning Shears
 1.
1.
Use this steel wool to eliminate dirt, debris, and rust from your pruning shears. It comes in various grades, with Grade 3 recommended for metal and stone surfaces.
 2.
2.
This assortment of sandpaper grades is perfect for various DIY tasks. Use the finer sheets to dislodge stubborn dirt from your pruning shears or other garden tools.
 3.
3.
Every gardener should have a bottle of WD-40 on hand to keep tools in optimal condition. After cleaning, apply this lubricant to keep components moving smoothly and resist rust.
FAQs
Why Clean Pruning Shears?
Routine cleaning of pruning shears is crucial to prevent buildup of plant matter, dirt, and sap, which can hinder cutting efficiency.
Moreover, unclean shears can spread plant diseases, making a regular cleaning schedule essential.
Proper storage of tools can also help keep them clean between uses.
How Often Should You Clean Pruning Shears?
'Ideally, clean your shears after each use,' suggests a former professional gardener. 'Wipe off any soil, sap, or debris to maintain their condition and prevent disease spread. A simple scrub in soapy water can do the trick.'
How to Remove Sap from Pruning Shears?
Pruning often leaves sap on your shears, making them sticky. An easy method to remove it is to spray a light alcohol solution on the blades and wipe them with a clean cloth.
The expert recommends using a bit of sterilizing liquid, followed by a cloth wipe, to eliminate sap and disinfect the tools for their next use.