
Nothing says spring quite like a vibrant living table arrangement. It not only beautifies your space but also brings a sense of joy and renewal that echoes the season's spirit.
In this article, I'll show you how to craft a stunning centerpiece using two types of miniature narcissus. Select an attractive ceramic container for your plants; the process is straightforward and wonderfully captures the essence of spring.
Materials Needed for Your Living Table Centerpiece

- A ceramic fruit bowl that holds sentimental value (I've included some shopping suggestions at the end for suitable bowls).
- Horticultural charcoal, like this option from Amazon, or small pebbles.
- Potting compost, such as this Miracle-Gro all-purpose compost from Amazon.
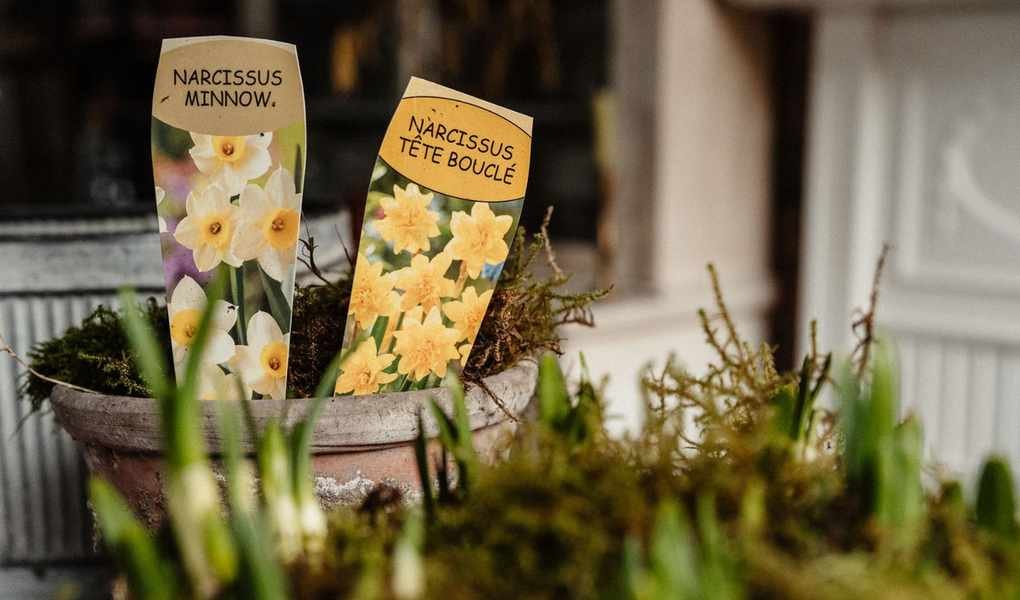
- A mix of narcissi bulbs that are already sprouting. I chose narcissus tete boucle and narcissus minnow, available on Amazon. You can also check your local garden center for sprouting bulbs.
- Moss.
- A small watering can.
Steps to Craft Your Living Table Centerpiece
First, select a ceramic bowl or container that you love, even if it gets a bit messy. A piece with personal significance, perhaps handed down from family or found in an antique shop, adds charm.
Even if not all your ceramics have sentimental value, opt for one that resonates with you visually and fits the spring theme.
Next, add a layer of horticultural charcoal and compost to the bottom of your bowl. This layer helps prevent excess moisture on the bulbs and roots. Since your bowl likely lacks drainage holes, this method prevents bulb rot and allows for future planting outdoors.
You can also place a layer of small pebbles or gravel to create a reservoir for excess water.
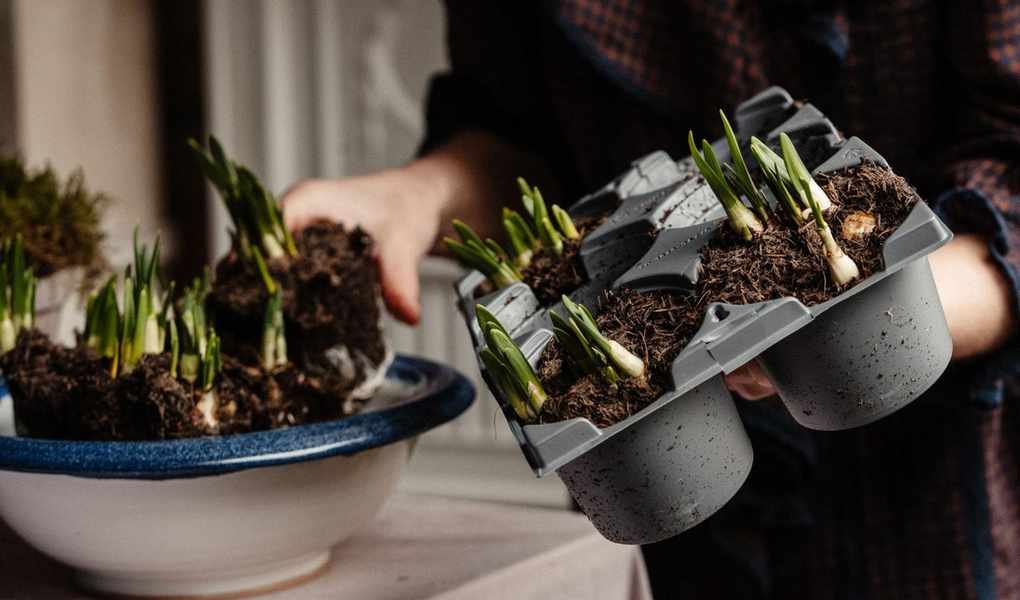
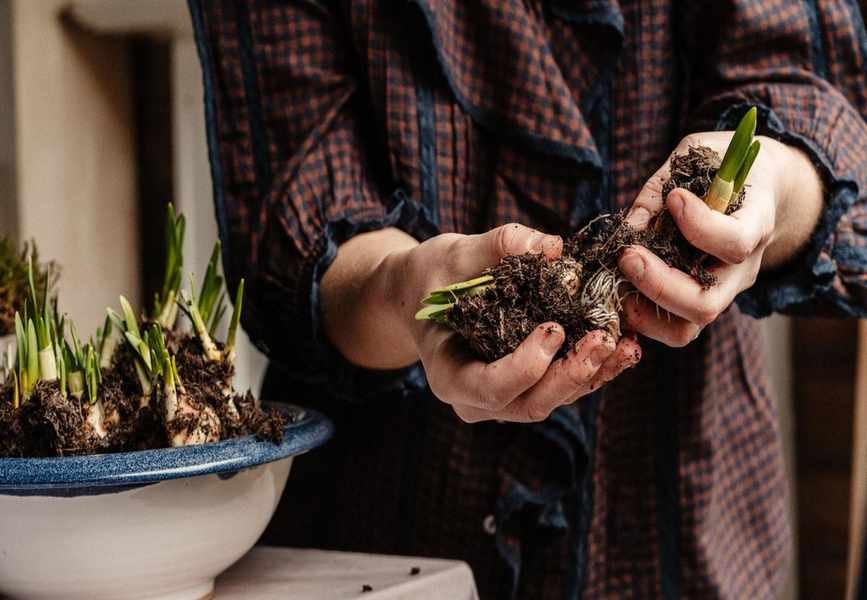
Now, position your bulbs in the bowl while keeping the soil intact around them. Aim to fit as many bulbs as possible, gently separating them if necessary to create space along the edges. Handle the roots carefully to avoid damage.
If using multiple varieties of narcissus, alternate their placement for a visually pleasing arrangement when they bloom.
Fill any gaps with compost once everything is snugly packed.
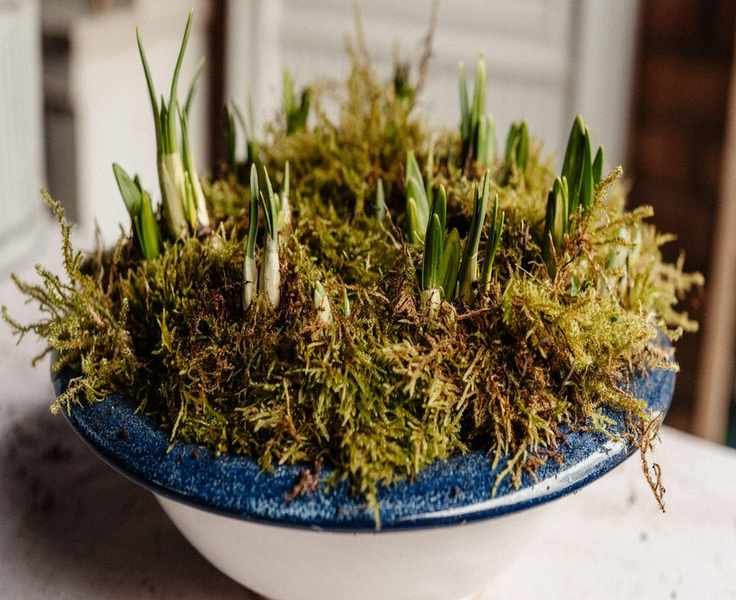
To enhance the look, cover the exposed soil with moss, keeping the shoots visible. This not only adds beauty, resembling a tiny landscape, but also prevents soil from spilling onto tables.
Moss retains moisture, reducing the need for frequent watering. Be careful to water sparingly; your bowl lacks drainage holes, so only water when the soil feels dry.
Place your arrangement in a bright, cool spot. Avoid areas with underfloor heating; a sunny kitchen island works well. You'll start seeing flowers in about a week.

Browse Ceramic Bowls
Earthy Terracotta Footed Bowl
This terracotta bowl has a rustic charm, and its footed design adds a stylish touch.
Canyon Blue Ceramic Bowl
This Anthropologie bowl planter showcases a beautiful plant combination, finished off perfectly with moss.
Modern Scalloped Decorative Bowl
This cream scalloped bowl offers a contemporary vibe, exuding trendy elegance.
Petals & Roots is a weekly video series led by me, Rachel Bull, sharing my insights on gardening and floral arrangements.


