A Day-by-Day Guide to the Lemosho Route on Kilimanjaro
We must be crazy.
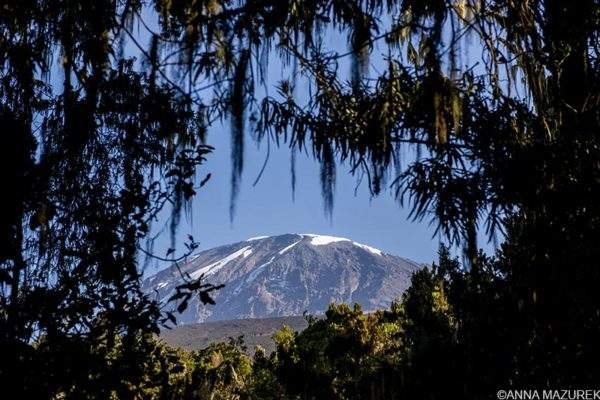
Those were my thoughts upon first seeing Kilimanjaro. I sat in the back of a bus, bouncing down a rough road toward Lemosho Gate, as the majestic mountain loomed ahead. My greatest adventure was about to commence.
This thought echoed throughout the next seven days as we aimed to conquer Africa's highest peak, towering at 19,341 feet (5,895 meters).
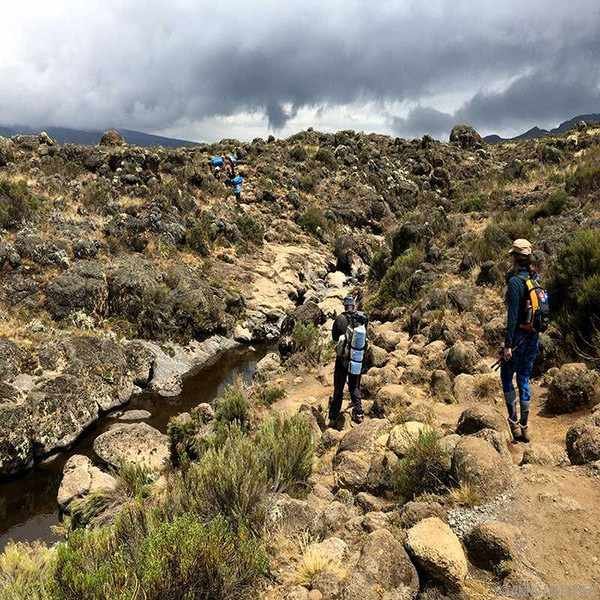
Walking through the moorlands en route to Shira II Camp
Why Kilimanjaro?
I discovered an old bucket list from 2014, where Kilimanjaro had been a long-time goal. While leading photography trips in the Himalayas, several colleagues spoke of their climbs in Tanzania. After attempting to work there and being reassigned elsewhere, I set Kilimanjaro aside. However, a WhatsApp message in June changed everything. My best friend jokingly invited me to join her on a climb that September. With my hectic schedule, the idea seemed absurd. Curiously, I asked about costs, expecting a hefty price. To my surprise, it was around $3,250 USD, including a $1,150 roundtrip flight. I rearranged my life to make it happen.
At 36, I feel youthful and fit. During my time in India, I acclimated to high altitudes, camping at 15,000 feet and driving up to 18,500 feet without major issues. Climbing Kilimanjaro requires no mountaineering gear—just determination to hike uphill for six days.
Despite that, it was the most challenging, coldest, and exhilarating experience of my life. Approximately 30,000 climbers attempt the summit yearly, with 75% success. Altitude illness remains the primary hurdle for many.
Below is a day-by-day recap of our Lemosho trek. For a comprehensive overview of routes, best travel times, and packing lists, see my Kilimanjaro 101 post. All elevation figures are from park signs, and hiking durations are based on personal experience.
Day 1 – Lemosho Gate to Mkubwa Camp
Altitude: 2650 m/8,694 ft; Distance: 7 km/4 mi; Time: 3 – 4 hours
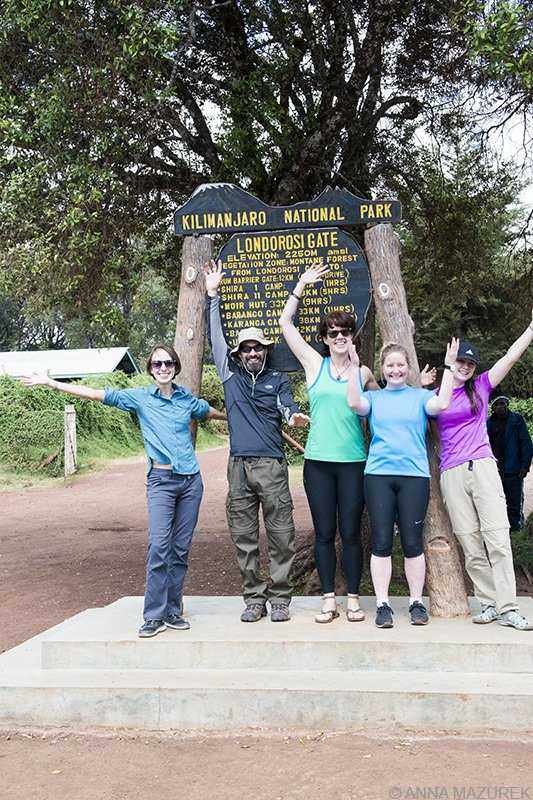
Our first group photo at the gate before we started our trek!
Our initial day was straightforward. Departing Moshi at 9:30 a.m., we gathered supplies and drove to Lemosho Gate for sign-in and porter load weighing (maximum 20 kg/44 lb).
We trekked through the rainforest for hours, spotting blue monkeys and colobus monkeys. We reached our first camp, Big Tree Camp or Mkubwa, before sunset.
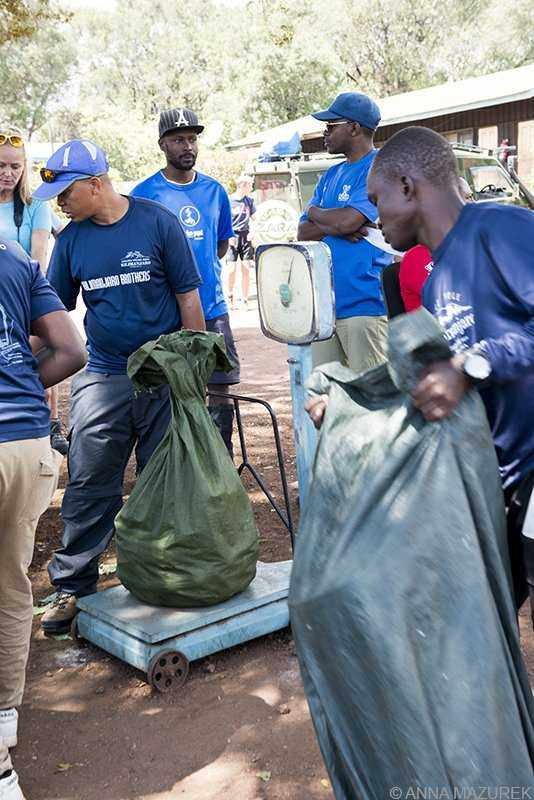
Waiting at the gate for the group's porters to weigh their bags. Each should carry only 20 kg/44 lb.
We opted for camping, with all sites offering basic toilet facilities—mostly squat toilets—with no showers throughout the trek. Each morning and evening, we received hot water for washing, except at base camp. The first night was unexpectedly cold.
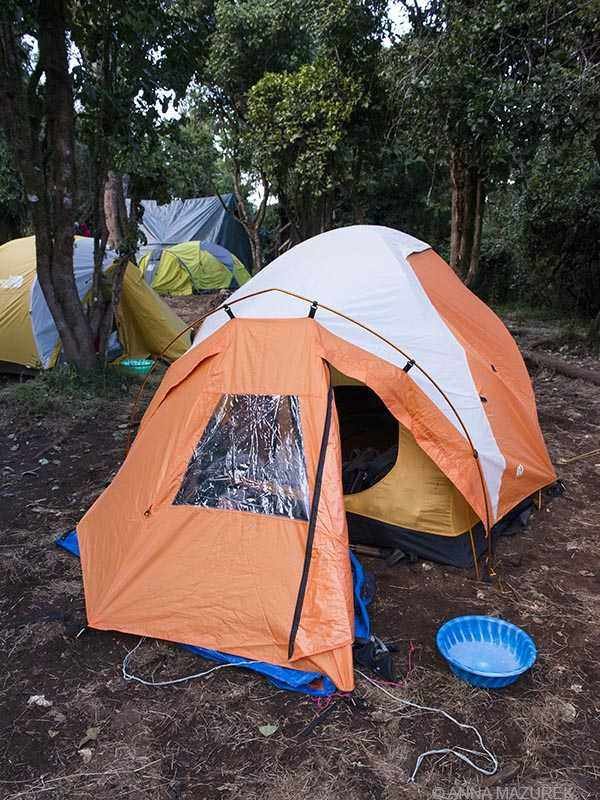
This orange tent became my home for seven days on the trek.
Our group consisted of five, including my best friend Becky, a Cincinnati native living in Tokyo who organized the trek. Two Kiwi ladies joined us: Nicci, a diplomat and Becky's friend, and Polly, a data privacy lawyer. The fifth was Francois, a Canadian accountant celebrating his 40th birthday with this climb—an awesome way to mark a milestone!
Day 2 – Mkubwa Camp to Shira II Camp
Altitude: 3,850 m/12,631 ft; Distance: 17 km/10.5 mi; Time: 6-8 hours
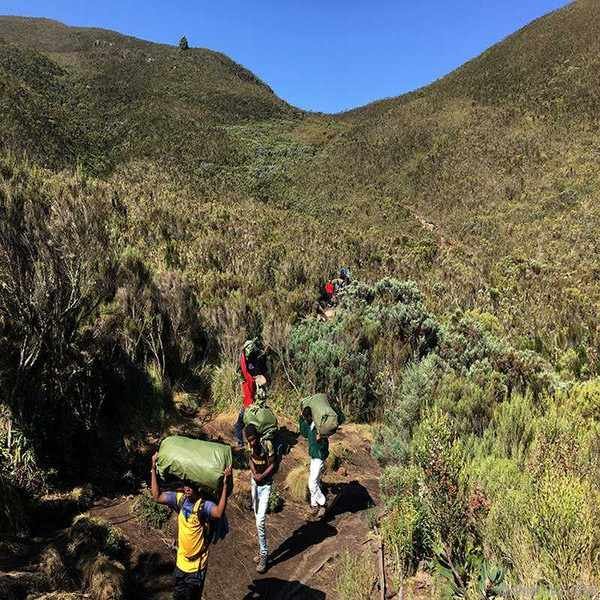
Porters carry bags through the moorlands to Shira II camp.
We hiked uphill for four hours to Shira I, transitioning from rainforest to moorlands with short scrubby trees. The last two hours were tough without the rainforest's shade. I carried three liters of water, rain gear, and arranged for an assistant guide to carry my camera bag, which weighed seven pounds.
The mantra for hiking Kilimanjaro is “pole, pole”—Swahili for “slowly.” I learned this during a previous hike in Peru.
Grateful for my wide-brimmed hat and long-sleeve Columbia SPF/wicking shirt from REI, I stayed cool and protected. After reaching Shira I, we enjoyed lunch before continuing to Shira II, which felt easier in comparison.
Day 3 – Shira II Camp to Baranco Camp (via Lava Tower)
Altitude: 3,900 m/ 12,785 ft; Distance: 10 km/ 6.21 mi; Time: 6 hours via Lava Tower
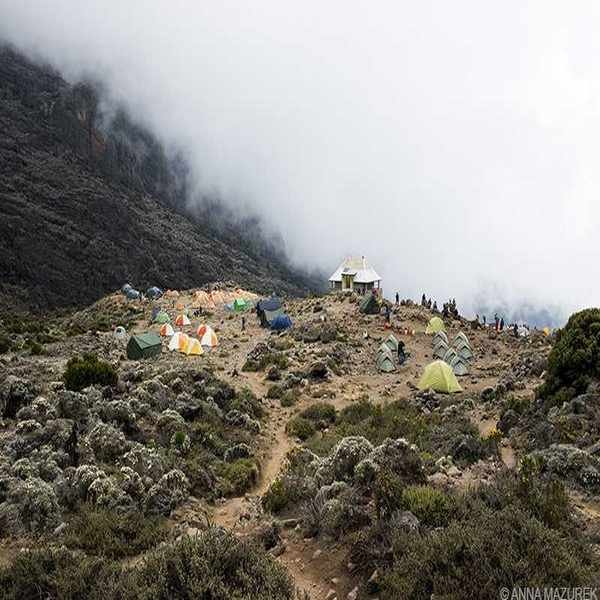
Barranco camp was one of the most scenic spots along the trek.
We hiked four hours to Lava Tower for acclimatization, our highest point so far at 4,600 meters (15,091 feet). The trek was enjoyable compared to the previous day, and we had lunch before descending two hours to Baranco camp, known for its stunning scenery.
Baranco is a popular stop, hosting climbers from four different routes. While some may experience altitude effects during acclimatization, our group had no issues. Our guide used an oxygen meter; all readings were in the high 80s to 90s.
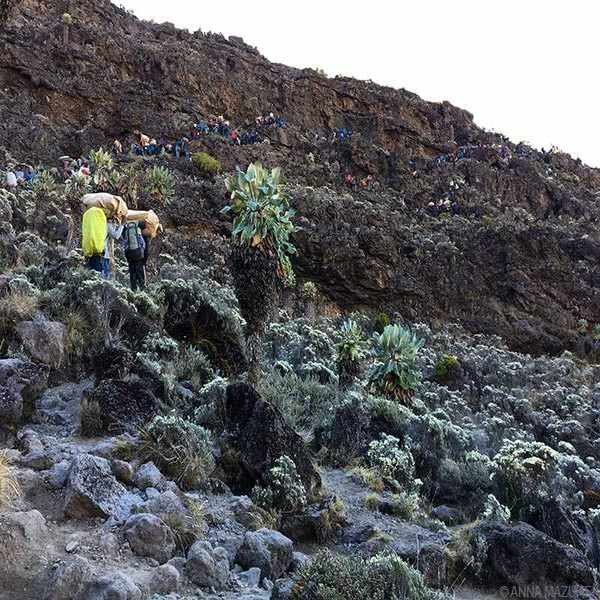
The path from Lava Tower to Baranco was picturesque, featuring giant groundsel trees and a small waterfall. Arriving around 3 p.m. meant we had extra time before sunset at 6 p.m.
All five of us made it to Lava Tower without altitude sickness!
Jet lag plagued me throughout the trip. I regretted not arriving two days early to acclimatize better. The combination of jet lag and altitude led to restless nights. We typically slept from 9 p.m. to 1 a.m., often waking for bathroom breaks. To combat this, I limited my water intake at dinner.
Day 4 – Baranco Camp to Karanga Camp
Altitude: 3,995 m/ 13,106 ft; Distance: 6km/ 3.7 mi; Time: 4 hours
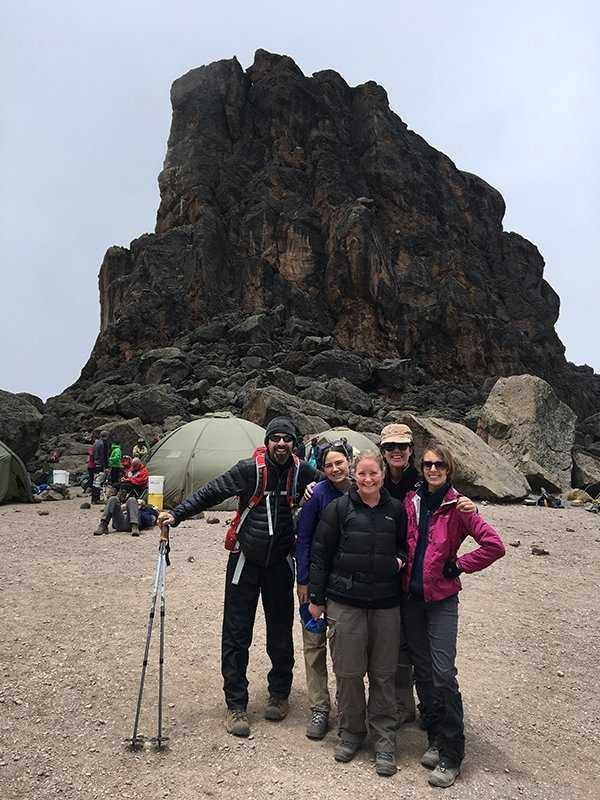
Climbing Baranco Wall was a challenge due to crowds.
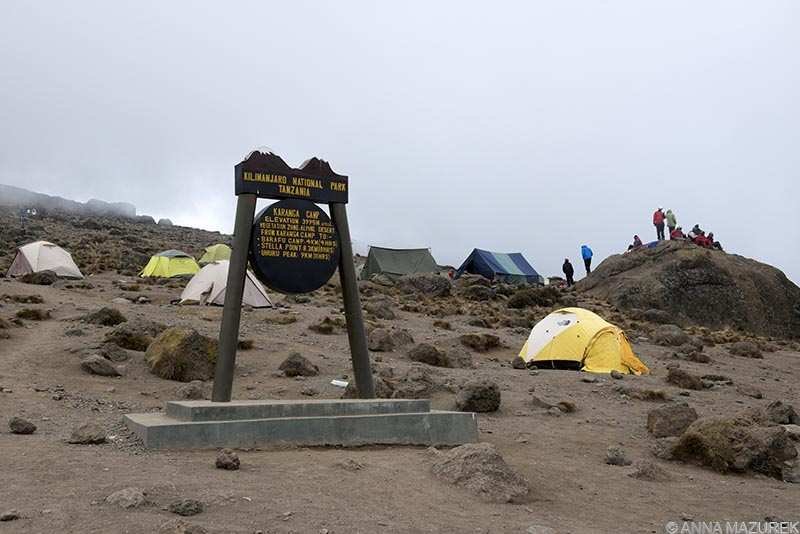
Our first challenge was the Baranco Wall, which requires no technical skills but involves navigating rocky sections while waiting in line behind fellow climbers. We paused at the top (4,200 meters/13,779 feet) for photos before descending to Karanga Camp, which had fewer facilities and was quite foggy.
Karanga is the last water point before base camp. Porters gather water here for our supplies.
Guides and porters gather at the highest point of the camp for cell reception.
Interestingly, every campsite offers cellphone reception at high points, though I chose to remain unplugged throughout the trek.
Day 5 – Karanga Camp to Barfu High Camp
Altitude: 4,673 m/15,331 ft; Distance: 4km/2.4 mi; Time: 4 hours
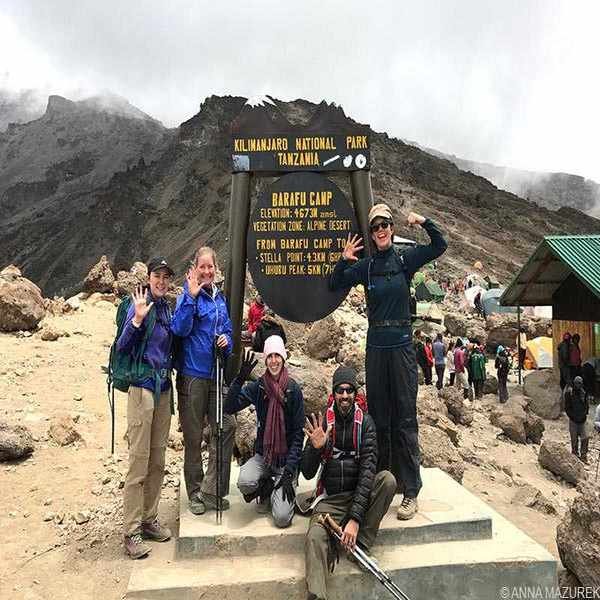
Celebrating day five with our arrival at Barafu Camp!
We had a short hike to Barfu, reaching around lunchtime. After waiting for summit climbers to pack their camps, we set up ours. Following lunch, we napped until dinner at 5 p.m. Our guide briefed us on the night’s plans: sleep until 11 p.m. and prepare for the summit push by midnight. I managed to rest well before dinner, but nerves kept me awake before the summit.
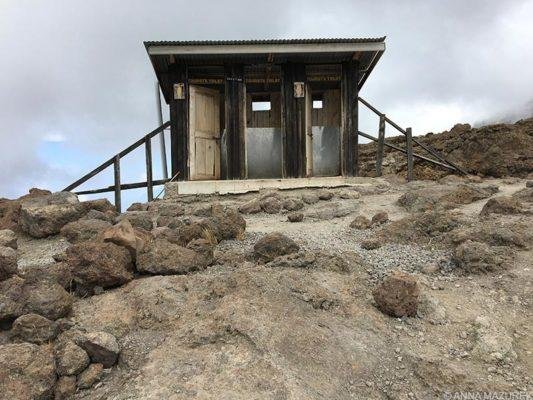
Barafu High Camp bathrooms were surprisingly decent.
Day 6 – Barfu High Camp to Uhuru Point (the summit)
Altitude: 5,895 m/19,341 ft; Distance: 5km/3.1 mi; Time: 7 hours
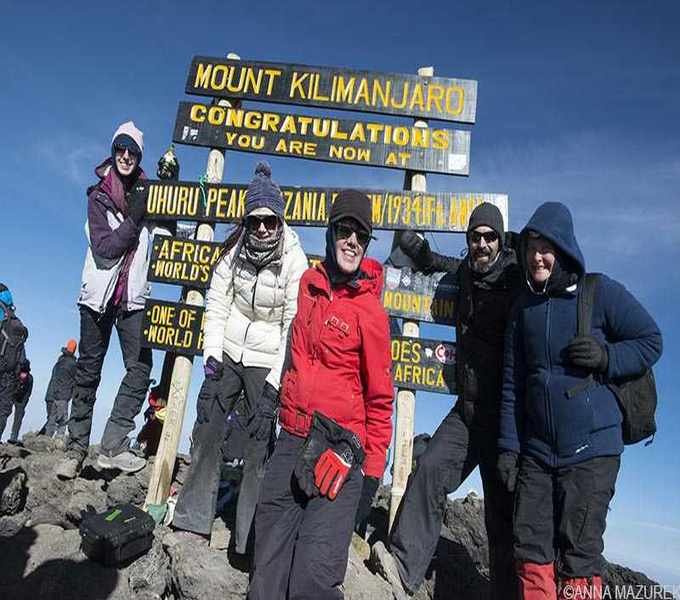
The whole group at the summit, navigating the crowds for photos!
At 10:30 p.m., our alarm went off for summit preparation. My nerves hindered sleep, so I dressed in five layers of pants, including thermals and rain gear. My upper layers consisted of multiple thermals, a fleece, and rain gear. Hand and foot warmers were lifesavers!
Our guides provided tea and cookies before we left. I brought protein powder mixed with water for everyone. We departed at 12:15 a.m., facing steep switchbacks leading to Stella Point. The path was crowded with climbers, illuminated by bobbing headlamps.
My hydration system froze after two hours, as expected. I carried two Nalgene bottles insulated in socks. We took brief breaks to snack or hydrate, keeping warm with new hand warmers. Despite the -11°C (12°F) wind chill, I managed to stay warm through constant movement.
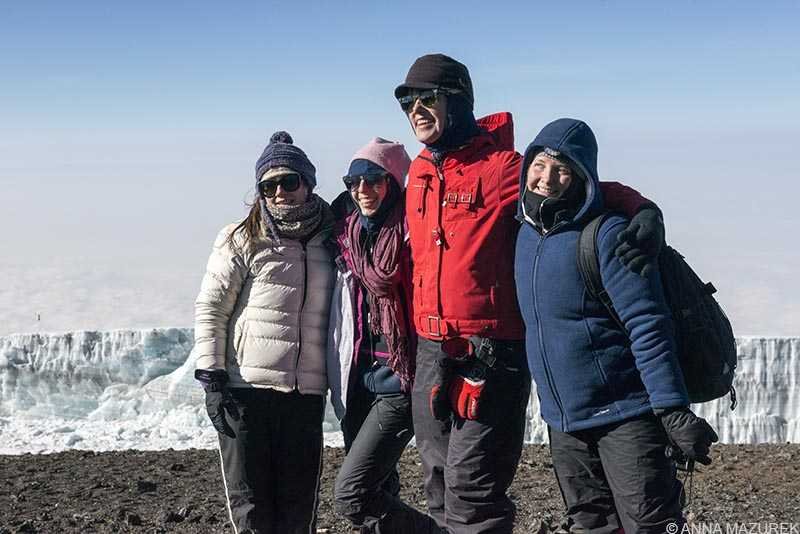
The girls with Furtwangler Glacier behind us.
After six hours of climbing, I felt weak but determined to reach the summit. I refused to descend without achieving my goal. Reaching Stella Point, I faced the challenge of removing five layers to use the bathroom—exhausting at altitude!
Our guides hurried us towards Uhuru, just 700 meters away, but it took an hour to reach the iconic sign. I was among the first to arrive! Contrary to my expectations, the crowd was chaotic, with climbers rushing for photos. I captured a memorable shot with Alfred at the top.
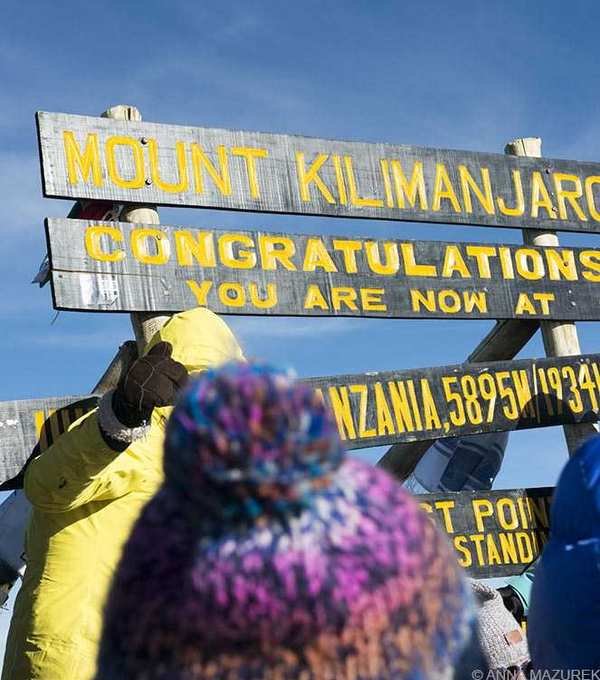
The summit was crowded, making photos tricky!
All in our group reached the top! The Lemosho route boasts one of the highest success rates. After taking photos at Stella Peak, we began the descent. The trek back took about three hours. I paused to shed layers and enjoyed the now-working CamelBak. The downhill climb was grueling, as I was both exhausted and extremely hungry.
Returning to camp, I napped for an hour before lunch, feeling revitalized.
Post-lunch, we trekked four additional hours to Mweka Camp at 3,100 meters/10,170 feet for our last night on the mountain. Descending helped prevent altitude sickness, and we all slept soundly.
Day 7 – Mweka Camp to Mweka Gate (End of Trek)
Altitude: 3,100 meters/10,170 feet; Distance: 10km/6.21 miles; Time: 3 hours
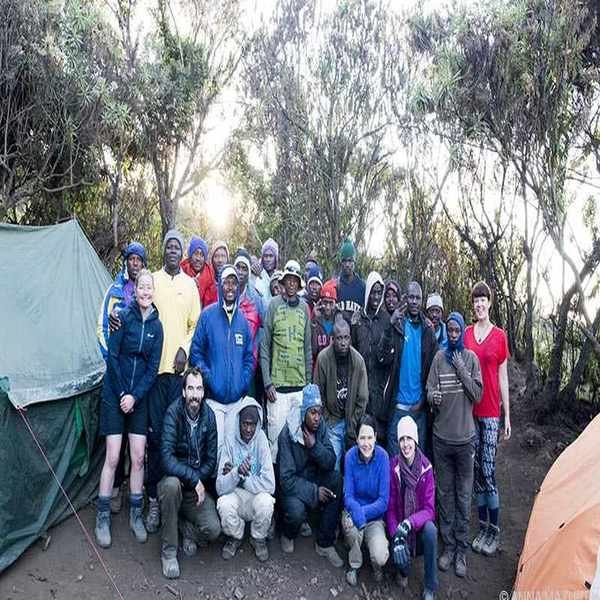
We owe our success to the incredible guides and porters—21 people supported just five of us!
Waking at sunrise brought unfortunate news: an older hiker had passed away due to asthma on the mountain. Porters gathered to assist with the recovery.
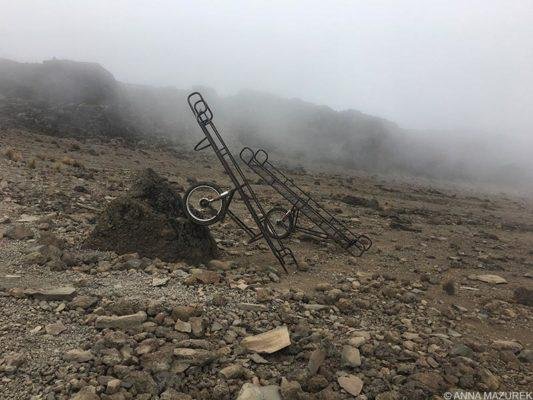
Wheeled carts are available along the Mweka Route for emergencies.
Our final trek to the gate lasted about three hours through the rainforest. At the gate, we signed out and took photos, waiting over an hour for our certificates. We returned to Moshi later that afternoon, but the certificates weren’t available. Our guide brought them to us during dinner.
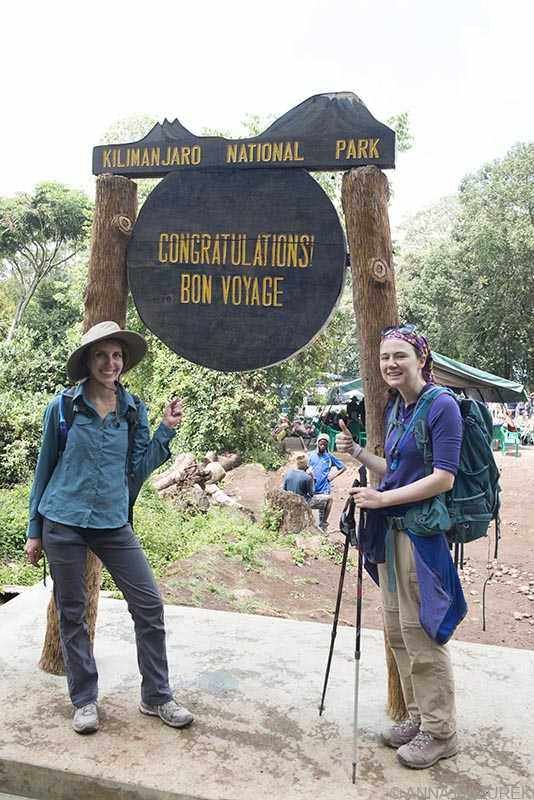
Becky and I celebrate our triumph—so grateful to have joined this trek!
After a cold shower, I opted for a beer and snack instead. The later warm shower felt heavenly. That beer and shower ranked among the best in my life.
Ultimately, summit day was the most challenging. The rest of the trek was manageable, but I wouldn’t repeat it. Perhaps Everest Basecamp next? Though lower, it involves steeper climbs but better altitude acclimatization.
A team of about 20, including 16 porters, supported our journey. Our main guide, three assistants, and a cook were extraordinary. I trusted them completely; they knew the mountain intimately and earned my utmost respect.
__________________________________________
COMING UP NEXT
In my next post, I’ll detail the trek costs, best travel times, main routes, and a comprehensive packing list based on my experience.
__________________________________________
I’m not sponsored by any brands mentioned. I only recommend products I genuinely love. Some links are affiliate, so if you purchase through them, I earn a small commission at no extra cost to you.