

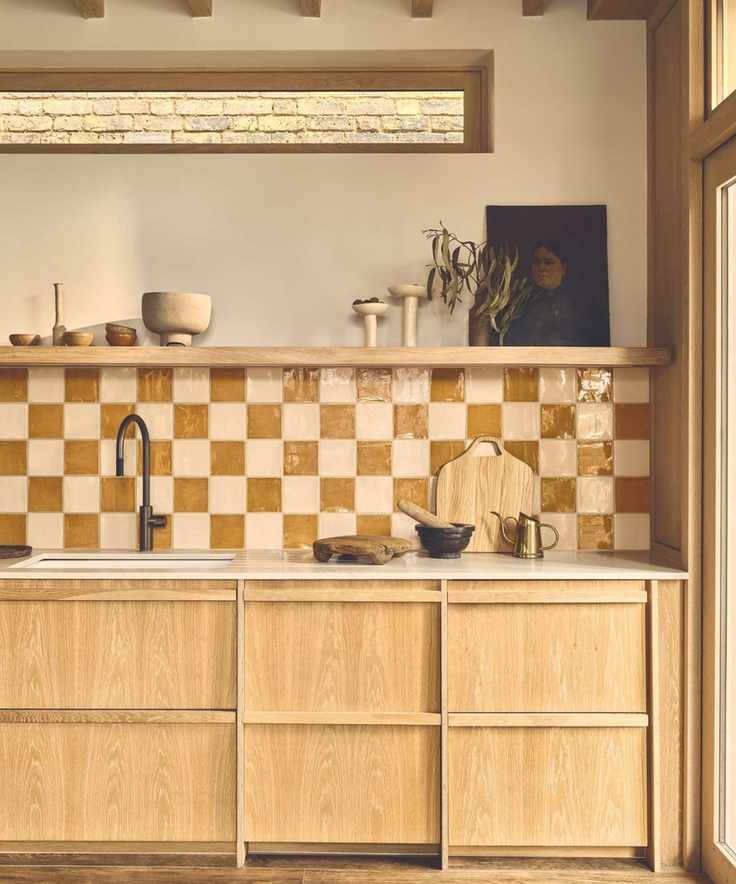
If you're aiming to refresh your kitchen or bathroom, painting your tile backsplash is a fantastic solution. Instead of costly labor for tile removal and replacement, you can do it yourself.
Whether you're a seasoned DIY enthusiast or trying out home improvements for the first time, painting your tile backsplash is a simple method to align with current paint styles or tailor your space to your taste.
We consulted a painting specialist for valuable insights on updating your tile backsplash ideas without the hefty price tag of a complete renovation.
5 Steps to Paint a Tile Backsplash
When you're ready to update your kitchen or bathroom backsplash ideas, gather the following materials:
- Dish soap
- A soft sponge or brush, like the Quality Soft Scrubbing Brush from Amazon.
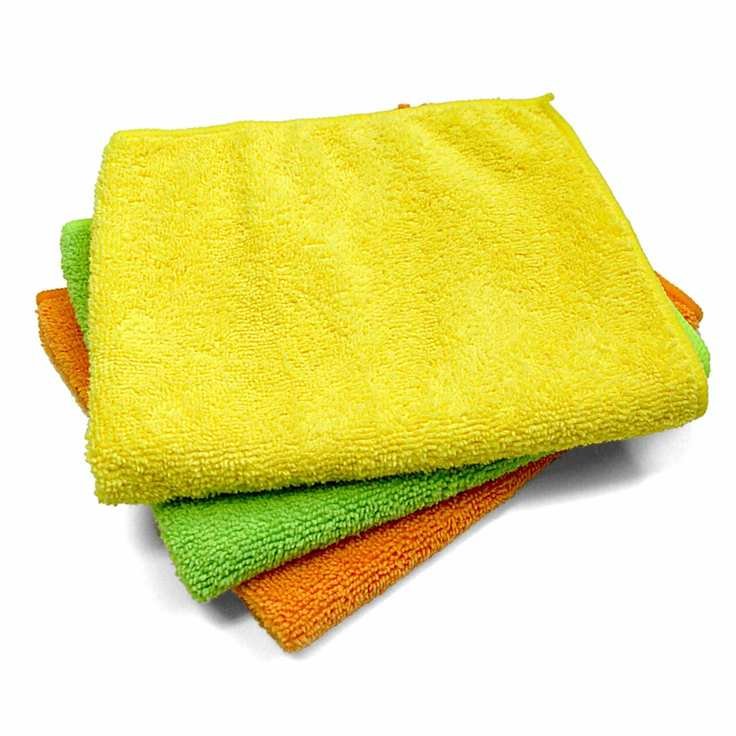
- A microfiber cloth like the MR.SIGA Microfiber Cleaning Cloth from Walmart.
- Sandpaper
- Tile-specific primer
- Enamel or epoxy-based paint
- A paint roller
- Water-based polyurethane sealer
Step 1: Clean

Before you start, like any painting project, thoroughly clean the tiles of your kitchen or bathroom.
According to Chuck Reger, a painting expert, use a blend of water and a mild detergent, such as Seventh Generation Clean with Purpose Liquid Dish Soap from Walmart. This unscented, biodegradable soap works well with a soft sponge or brush to remove grease and grime.
Make sure to rinse thoroughly and allow the area to dry completely. You can speed up drying by using a microfiber cloth or soft towel.
All prices are accurate at the time of writing.
 Plant-based cleaning power
We love Method products, especially this cruelty-free dish soap with a biodegradable formula free from harmful chemicals.
 Extra absorbent
This efficient sponge is affordable and perfect for various cleaning tasks around the house.
 Washable and reusable
These multi-purpose microfiber cloths are great for cleaning and can be laundered easily—just avoid fabric softener.
Step 2: Prepare the Surface
Next, Reger suggests lightly sanding the tiles with 220-grit sandpaper (like the 3M Sandpaper from Amazon) to enhance paint adhesion and wipe away the dust.
This process also helps remove any old paint, making the new layer stick better and last longer.
Step 3: Apply Primer

Once the surface is prepared, use a suitable primer like the KILZ Adhesion Primer from Amazon and allow it to dry for 24 hours.
To expedite drying, you can open a window or utilize a dehumidifier, but don't do both simultaneously as it can hinder effectiveness.
Step 4: Paint the Tiles
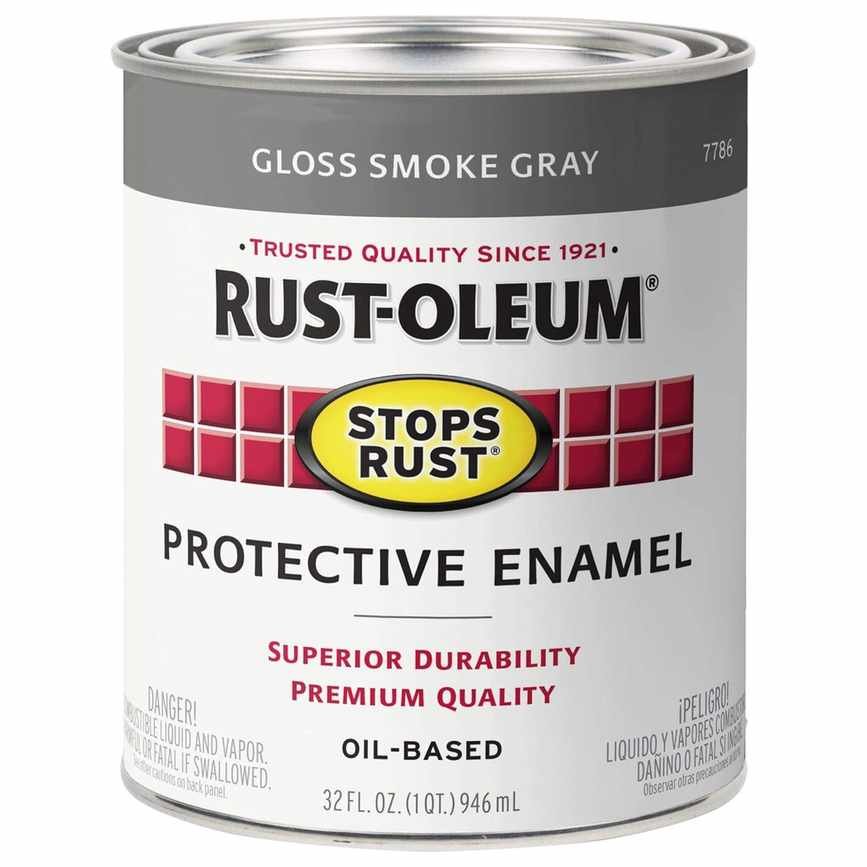
Once the primer is dry, choose durable enamel or epoxy-based paint, such as Rust-Oleum 384165 Tub And Tile Refinishing 2-Part Kit from Amazon.
Apply two to three thin coats with a foam roller, allowing each coat to dry according to the product instructions, usually four to six hours.
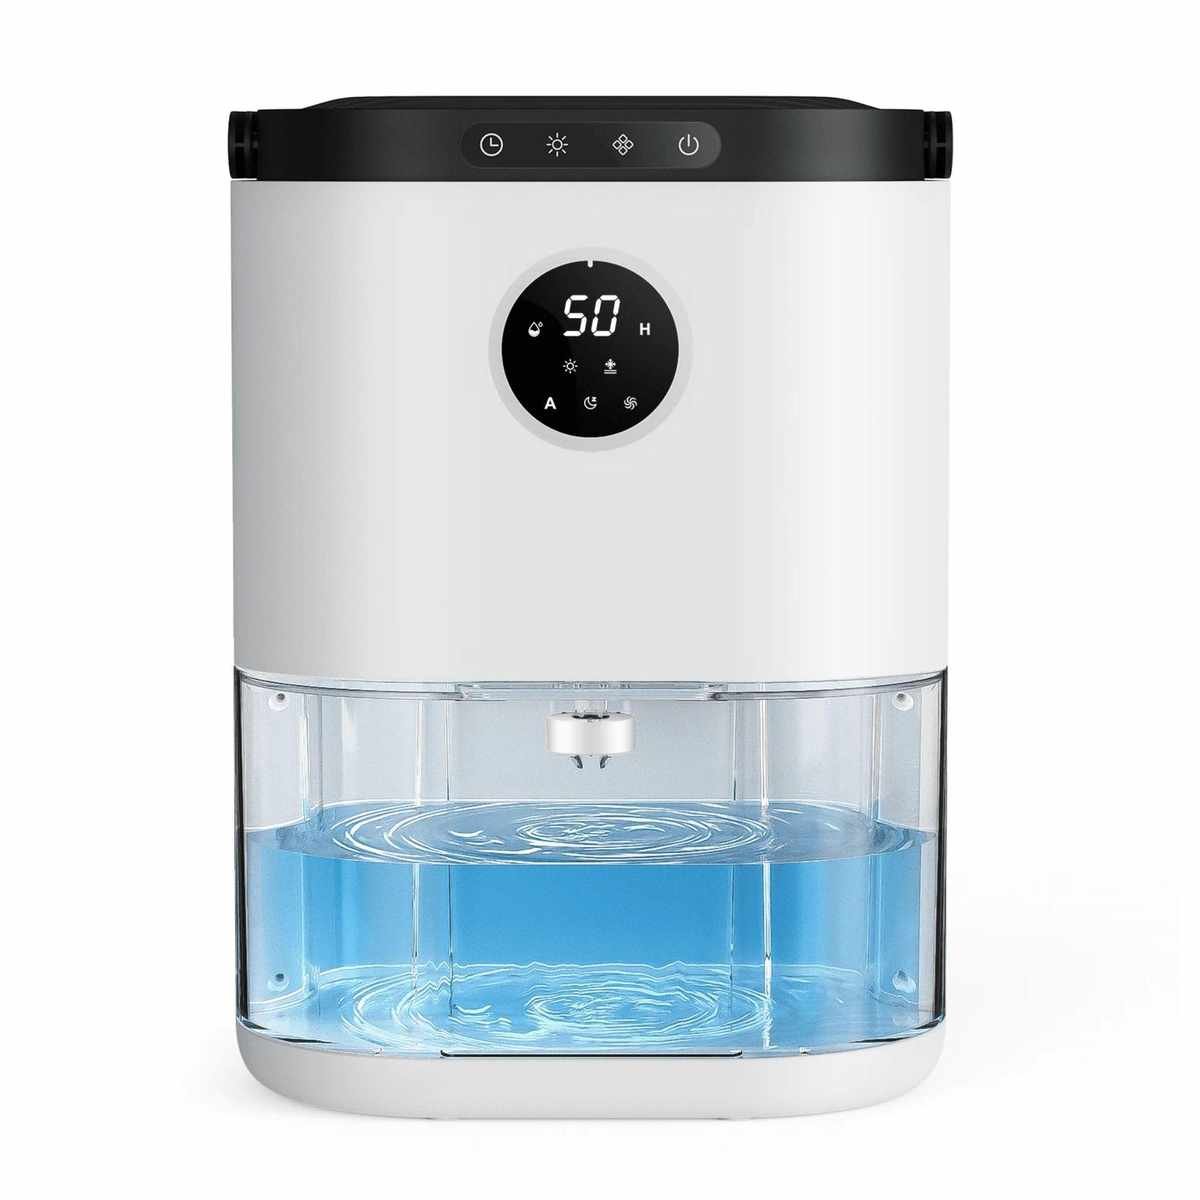
For quicker drying, consider placing a dehumidifier nearby or using a hairdryer on a medium setting, moving it back and forth over the tiles.
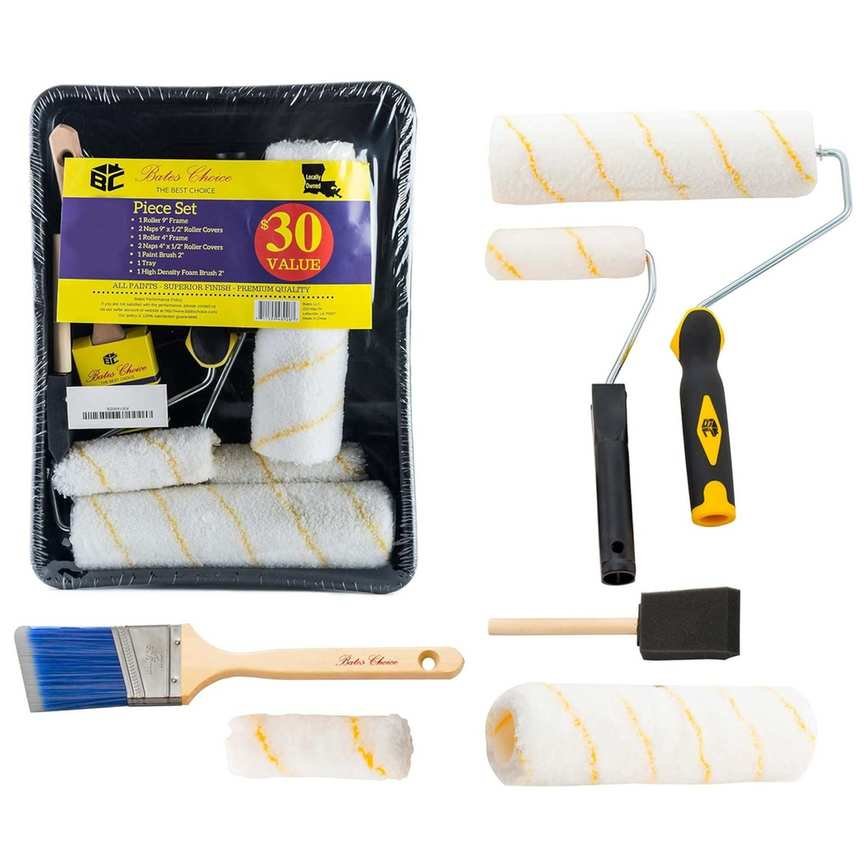 11 piece set
This professional-grade paint set provides a smooth finish, perfect for various surfaces.
 Rust-resistant
This oil-based paint dries to the touch in two to four hours and resists chipping and fading.
 Automatic shut-off function
This compact dehumidifier efficiently removes moisture while being energy-conscious.
Step 5: Seal the Paint
Finally, after 24-48 hours of drying, apply a clear water-based polyurethane sealer for added resilience, such as the Varathane 200061H Water-Based Polyurethane from Amazon, available in matte and gloss.
Common Questions
How Long Will Painted Tiles Last?
With proper sanding, priming, and sealing, your newly painted tiles can last at least a year before needing touch-ups. Watch for signs such as fading, discoloration, or peeling paint, similar to what you'd observe on walls that need repainting.
Noticing bubbling wall paint? This could signal moisture issues or mold, indicating a need for further investigation.


