
To maximize your hanging basket's potential and extend its blooming period, it's crucial to know the proper planting techniques.
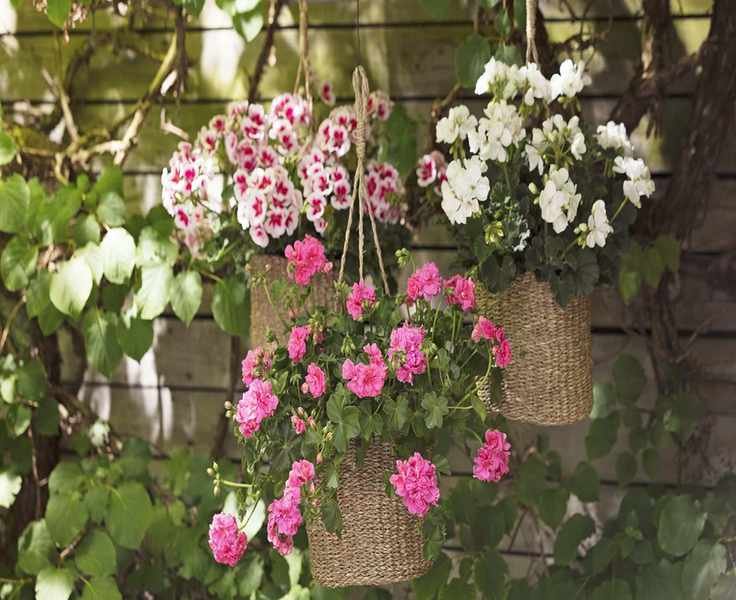
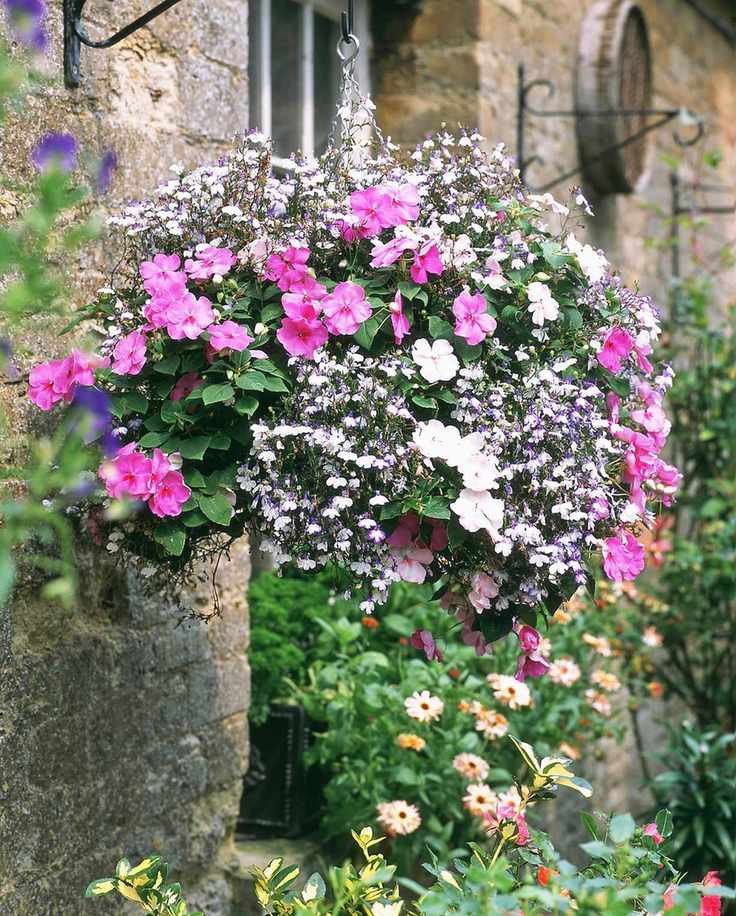
Hanging baskets are an excellent garden solution, offering beauty with minimal effort. Within weeks, you'll enjoy a cascade of lush foliage and vibrant flowers.
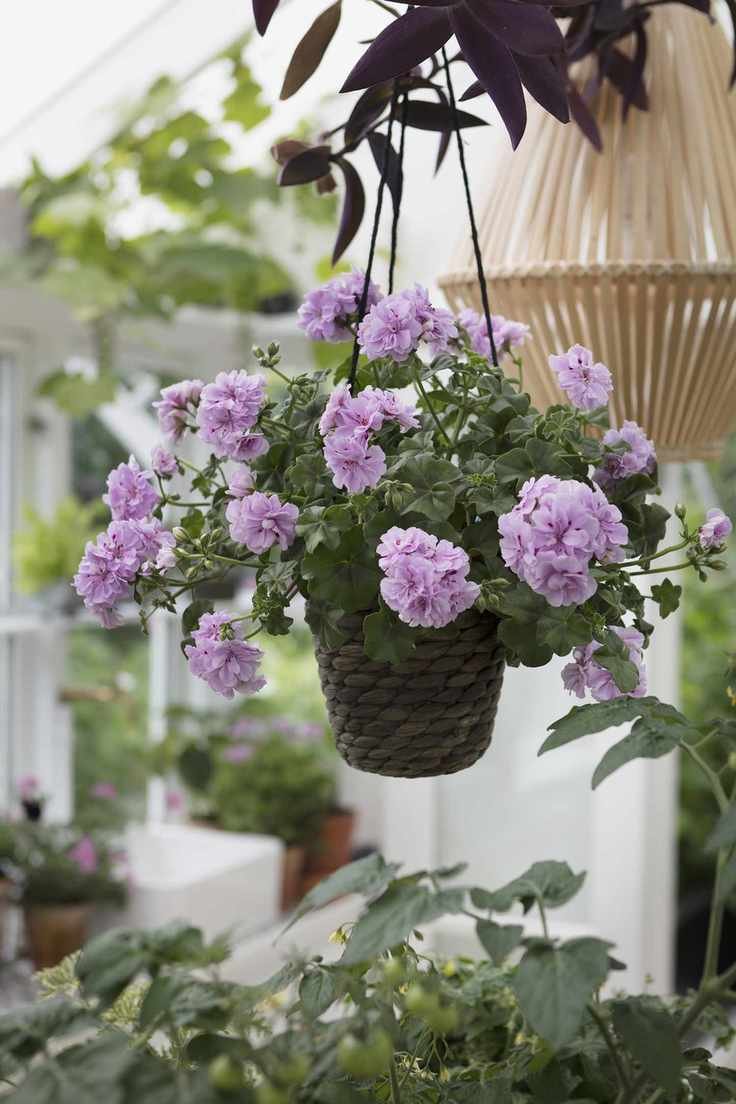
These delightful garden features not only provide eye-level color but also enhance dull walls, fences, and porches.
Incorporate hanging baskets into your pergola designs and your front garden projects to elevate your home's exterior.
'Hanging baskets inject a burst of color into summer gardens,' notes horticulture educator Mick Lavelle. 'The best time for planting is early spring, ideally in a sheltered spot. However, protect them from cold nights and frost until late spring, which may require a greenhouse or conservatory.
'If those options aren't available, simply wait a few weeks until the risk of frost has passed.'
Don't restrict hanging baskets to summer; winter options can also create beautiful displays when your garden is less lively.

Step-by-Step Guide to Plant a Hanging Basket
Follow these easy steps to plant a hanging basket in under an hour, and you'll wonder why you ever opted for pre-planted versions.
1. Select Your Plants
With so many stunning options, choosing the right blooms can be challenging. Careful selection helps avoid common hanging basket pitfalls.
'Visit your local garden center for ideas,' suggests gardening expert Leigh Clapp. 'Start with a central plant and feel free to experiment with different combinations by trying out various pots.
'Think of it like arranging flowers in a vase, though nature can be unpredictable, leading to surprising growth patterns.'
Many gardeners favor the 'thriller, filler, spiller' approach, as explained by Isabel Palmer, founder of The Balcony Gardener: 'Choose a standout variety as the focal point, then add filler plants—mixing upright and compact types. Finally, introduce trailing plants for a beautiful overhang.'
Great thriller choices include pelargoniums, begonias, and osteospermums. For fillers, consider purple-leaved heuchera or compact carex to complement colorful blooms. Ideal spillers range from lobelia to fuschias.
For a sleek look, consider using a single variety for a minimalist design.
Think about the effect you want for your garden colors. 'Limit your palette to one or two complementary shades, like pink and purple,' suggests Palmer.
Additionally, you can create a mini kitchen garden in a hanging basket, which works wonderfully for growing fresh vegetables.
'A traditional coir-lined planter can hold enough soil for delicious edibles that cascade beautifully,' says Alex Mitchell, author of Crops in Tight Spots.
Suitable crops for hanging baskets include herbs, salad greens, strawberries, and tomatoes.
2. Choose the Right Basket
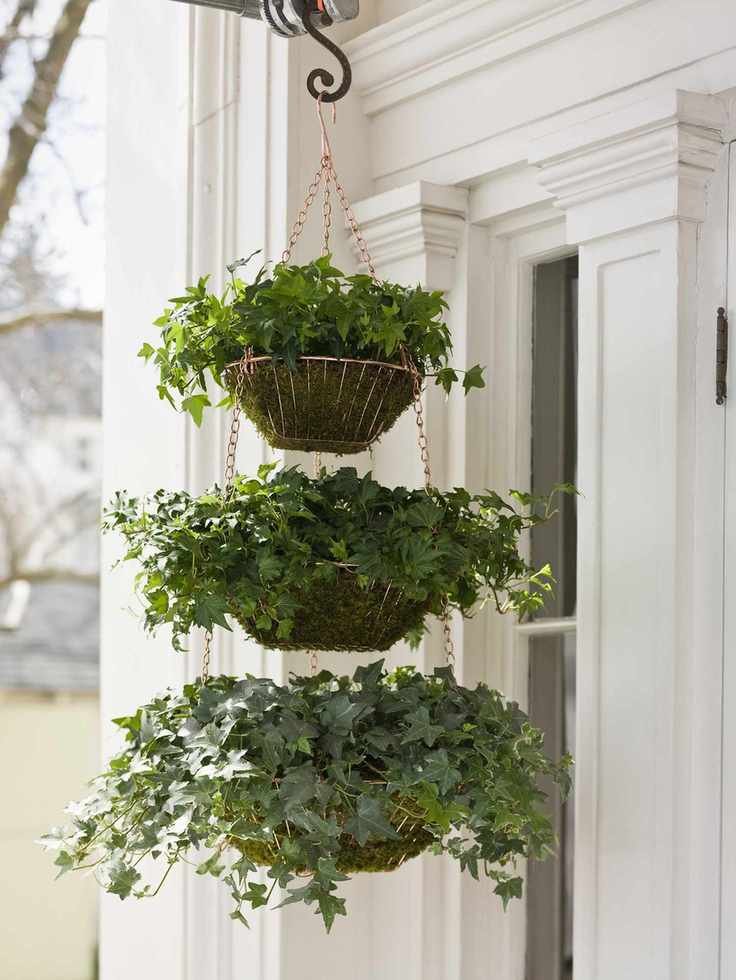
The classic hanging basket style is a metal cage, but options like ceramic pots or willow baskets also work well. Explore various hanging baskets on Amazon.
Creating your own hanging basket provides a fun opportunity for creativity. Repurpose items like vintage bowls or birdcages—just ensure to drill drainage holes in the bottom.
'Hang high baskets on extendable cords for easy access when watering and harvesting. Alternatively, consider telescopic watering attachments for your hose,' suggests Mitchell. You can find a telescopic watering attachment on Amazon.

3. Line the Basket
To keep the soil in, line your hanging basket. While pre-made liners are available, moss creates a more appealing look.
'You can use store-bought moss or any from your lawn, aiming for a half-inch thick layer,' advises Lavelle.
Once established, the liner will be less noticeable. Natural fiber liners, such as coir, are also effective.
Make sure to choose a liner that fits your basket properly.
4. Create a Water Reservoir
After lining the basket, form a reservoir at the bottom to retain moisture for the plants.
'Use an impermeable material like a piece of polythene or an old saucer—around half the diameter of the basket—to prevent water from escaping during watering,' says Lavelle.
You can also create a watering channel by adding a small flowerpot filled with gravel in the center, ensuring its rim is just below the basket's edge to prevent splashing.

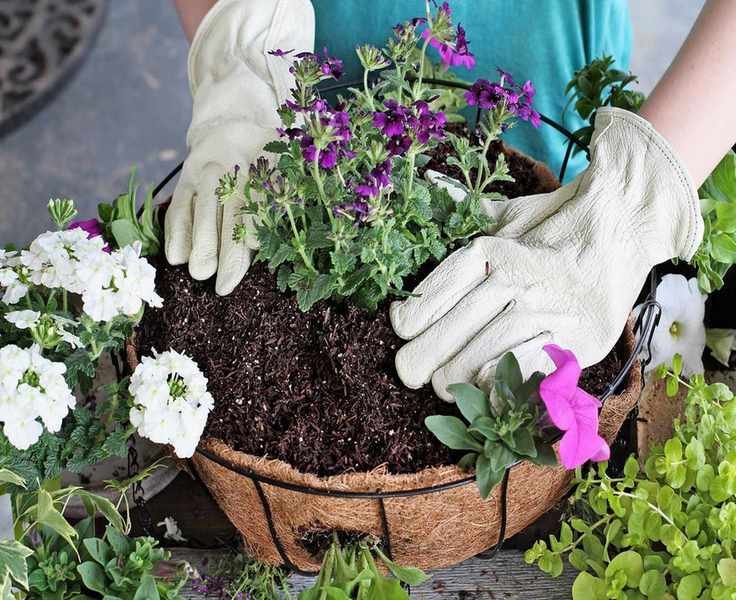
5. Add Compost
Opt for quality multipurpose compost, preferably peat-free for sustainability, filling the basket about three-quarters full.
'Consider adding water-retaining crystals to the compost for prolonged moisture,' notes Mitchell.
Water-retaining crystals can swell up to 400 times their size when wet, ensuring gradual moisture release as needed.
Incorporate slow-release fertilizer granules to provide essential nutrients throughout the growing season; otherwise, regular feeding is required.
6. Arrange the Plants
Before planting, water the plants so that the soil remains intact when you take them from their pots.
Practice positioning the plants together until you're satisfied with the arrangement.
'Begin with a central plant for a fuller look, using a compact, bushy type,' says Lavelle. Then, surround it with fillers and finally position trailing plants to drape over the sides, filling in gaps with compost.
7. Water and Care
Water your newly planted baskets thoroughly and check daily for dryness. If the soil feels moist, there's no need to water.
'Maintaining moisture without waterlogging is key,' advises Mitchell. Regularly deadhead spent flowers to extend blooming through summer.
Planting Baskets with Holes
If you want plants to grow outward, consider cutting holes around the sides of your liner, especially if you plan to use trailing varieties.
Use a sharp knife and add two tiers of holes for larger baskets.
When adding compost, fill it to the level of the bottom of the holes before inserting the plants through the openings, wrapping delicate varieties in paper for protection.
After packing in compost, fill the basket three-quarters full before planting the top layer as described.
Creating a Full Appearance
For a lush look, plant generously, spacing them closer than traditional methods. Some plants may perish during summer, so include extra plants to fill in gaps.
Ensure consistent watering and feed with slow-release fertilizer at planting or weekly with a water-soluble option to promote healthy growth.

How Many Plants for a Hanging Basket?
The number of plants depends on the vigor of your chosen varieties, so check their expected size.
Generally, pack them in closer than you'd plant in the ground. For a 12-inch container, use three plants; for 16 inches, five; and for 20 inches, seven, though this can vary based on individual growth potential.
What to Place in the Bottom of Hanging Baskets?
To retain moisture, place a plant saucer or a circle of polythene at the bottom of your hanging baskets.
Ensure it only covers about half the diameter to avoid waterlogging the soil.
When to Plant Hanging Baskets?
For optimal summer blooms, start planting as early as possible in spring under cover, allowing plants to establish.
If undercover planting isn't viable, wait until mid to late spring after the frost threat has passed.
Winter baskets should be planted in early fall.


