
Constructing a fence around your garden or backyard enhances privacy and can boost your property's appeal.
Garden fence ideas can increase your home's resale value while minimizing noise disturbances and ensuring that children and pets stay within bounds. Thoughtful material choices can complement your fence decorating ideas, serving as a beautiful backdrop for greenery while shielding your garden from harsh weather.
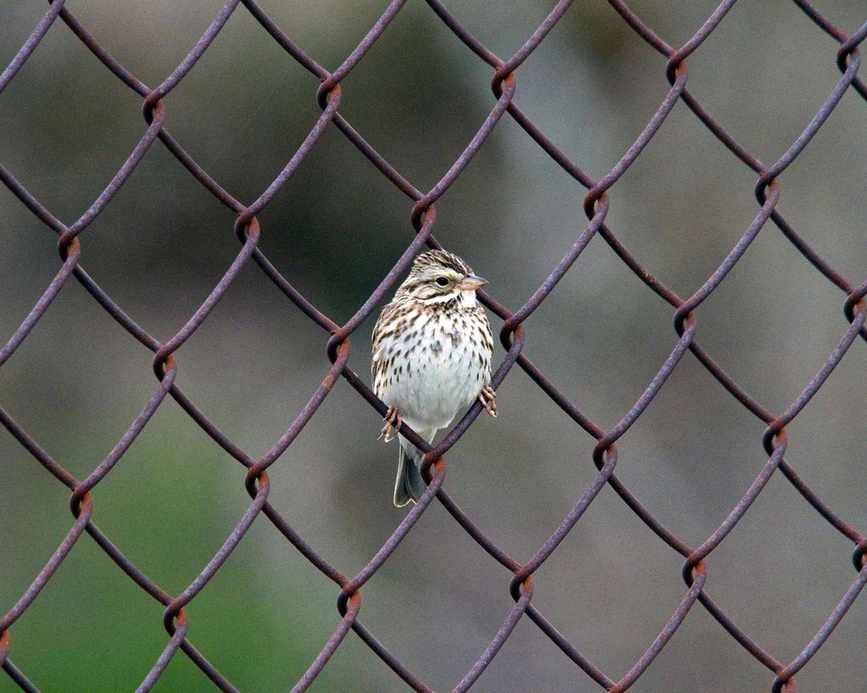
One of the most popular budget-friendly options is a chain link fence. This type combines woven steel wire with steel posts and is commonly seen in parks, playgrounds, and residential areas. While it may not offer the same level of privacy or security as wooden or vinyl fences, it effectively keeps kids and pets contained.
According to Jeremy Yamaguchi, CEO of Lawn Love, “Chain link fencing is one of the most economical fencing choices. You can expect costs between $15 and $25 per square foot, including installation.”
However, chain link fences aren't chosen for their aesthetics. They lack visual appeal compared to other types and don't provide the same security, as they are see-through, shorter, and easy to climb.
Here's a practical guide to build a chain link fence in your yard.
Installing a Chain Link Fence
This project can typically be completed in just a few days, depending on the size of your fence. Remember to allocate additional time for constructing a gate if needed. The main components include a roll of chain link mesh, which can be sourced from Amazon, to help reduce the cost of fencing.
You'll Need
Tools:
- Spade
- Post level
- Fence puller
- Stretcher bar
Materials:
- Chain link mesh
- End and middle posts
- Top rail
- Tension bar, wire, and bands
- Fence ties
- Post caps
1. Outline the Area
Start by marking where you want your corner, gate, and end posts. Use spray paint or a movable marker to outline, then measure the distance between end posts to determine the necessary amount of chain link mesh.
2. Set the Posts
Dig holes at the marked locations for the posts. Each hole should be wider than the posts and about one-third the post's length deep. Place the posts in the holes with large stones for stability, topping off with compost for security. Ensure they are straight using a level. Alternatively, gravel and concrete can provide even more security, requiring a day to set before proceeding.
3. Position Intermediate Posts
Next, run string between the posts and mark 3m intervals between corner, gate, and end posts for the placement of intermediate posts. These should be positioned about 50mm higher than the mesh to create a small gap beneath the fence. Dig and install the posts as previously described.
4. Attach Tension Bands and Caps
Every post requires tension bands and a cap. Ensure the flat sides of the bands face outward, using two bands on corner posts. A 4ft fence needs three bands per post, a 5ft fence requires four, and a 6ft fence needs five.
5. Secure the Top Rail
Next, insert the top rails through the loops on the caps atop each post, connecting the rails and tightening the nuts and bolts for security.
6. Hang the Chain Link Mesh
Beginning at one end, roll out the mesh along your fence's length, weaving the tension bar through the mesh at the end post. Attach the tension bar to the bottom tension band on the end post, ideally about 2 inches off the ground. Secure with fence ties to the top rail and stretch the fence if necessary with a stretcher and tension bar.
Post Spacing Recommendations
It's best to space your chain link fence posts no more than 10ft apart to maintain symmetry and visual appeal.
Fence Tie Quantity
The number of fence ties you'll need depends on the size of your fence. As a guideline, use one tie for every 12 to 18 inches. For a 150ft fence, this translates to approximately 100-150 ties.


