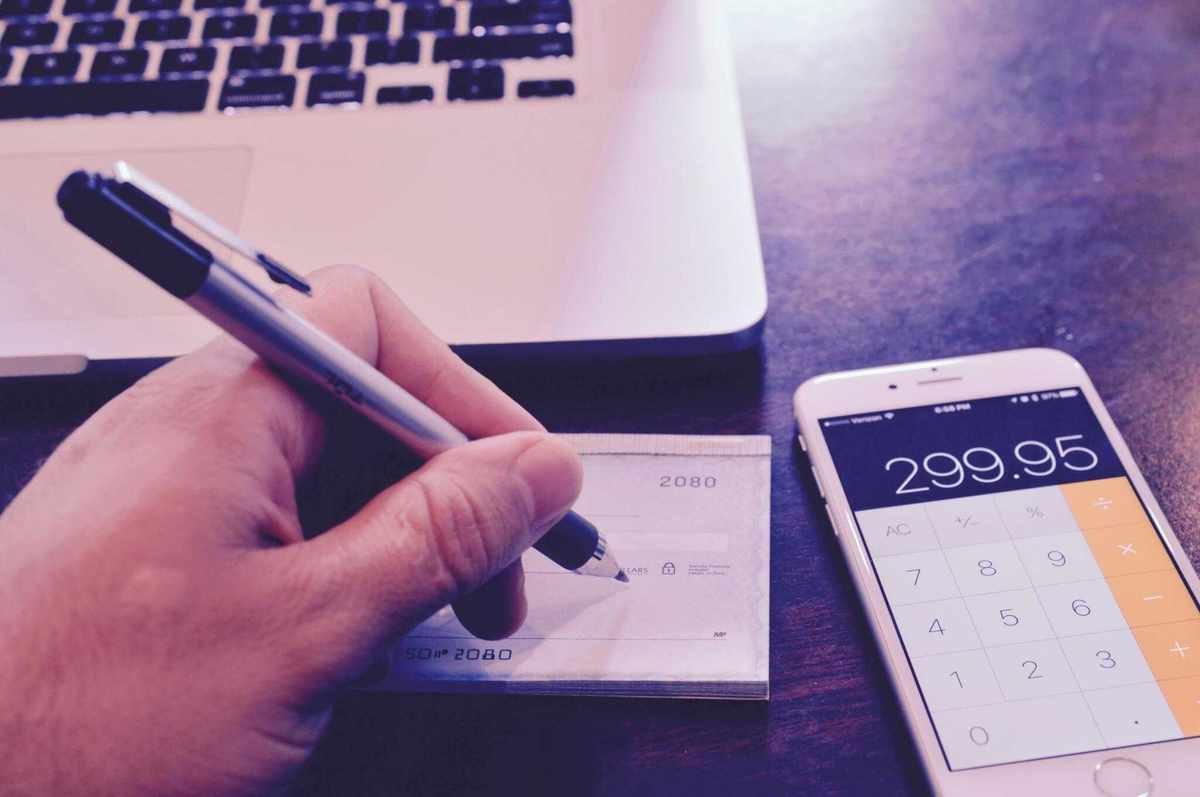
Check writing may seem old-fashioned, but it’s still a valuable skill. Many people still use checks for various payments, like rent or utilities. If you’re among those unsure of how to write one, fear not—here’s a straightforward guide.
Start with the Date
Begin by indicating the date in the top right corner of your check. Use a pen, and ensure the date reflects the day you fill out the check, as this is a legal document.
Recipient's Name
On the line labeled “Pay to the order of,” write the full name of the person or business receiving the payment. If you’re uncertain, double-check for accuracy. Avoid writing “Cash,” as this can lead to unauthorized cashing. Always use proper names without nicknames or abbreviations.
Amount in Numbers
Next to the dollar sign, either in a box or on a line, write the amount you’re paying in numerical form. This section is often called the “courtesy box” and provides clarity, though it doesn’t determine the check’s value.
Amount in Words
Below the “Pay to the Order of” line, you’ll find a space to write the amount in words. This is the official amount for the check. If there’s a discrepancy between the written and numeric amount, the written amount prevails. A helpful practice is to use all capital letters to prevent alterations, and add a line from the end of the words to the edge of the space to deter tampering.
Your Signature
In the bottom right corner, sign your name. This step is crucial—without your signature, the check holds no validity.
Memo Section
In the lower left, you’ll see “For” or “Memo” with a blank line. Filling this out is optional but can be beneficial for you or the recipient to remember the purpose of the check, like “For rent” or “Gift.”
Congratulations!
Writing a check is no longer a mystery. You’re ready to go!
Curious about more financial tips? Check out “10 FAQs about Money.”