Understanding how to repair a leaky faucet is essential for any homeowner. The United States Environmental Protection Agency (USEPA) reports that typical household leaks can waste almost 10,000 gallons of water annually, with about 10% of homes leaking 90 gallons or more daily.
Common household leaks often arise from worn toilet flappers, dripping faucets, and faulty valves. Fortunately, these issues are generally straightforward to resolve, typically requiring just a few tools and supplies that can pay off through lower water bills. By addressing minor leaks, homeowners can save roughly 10% on their water expenses.
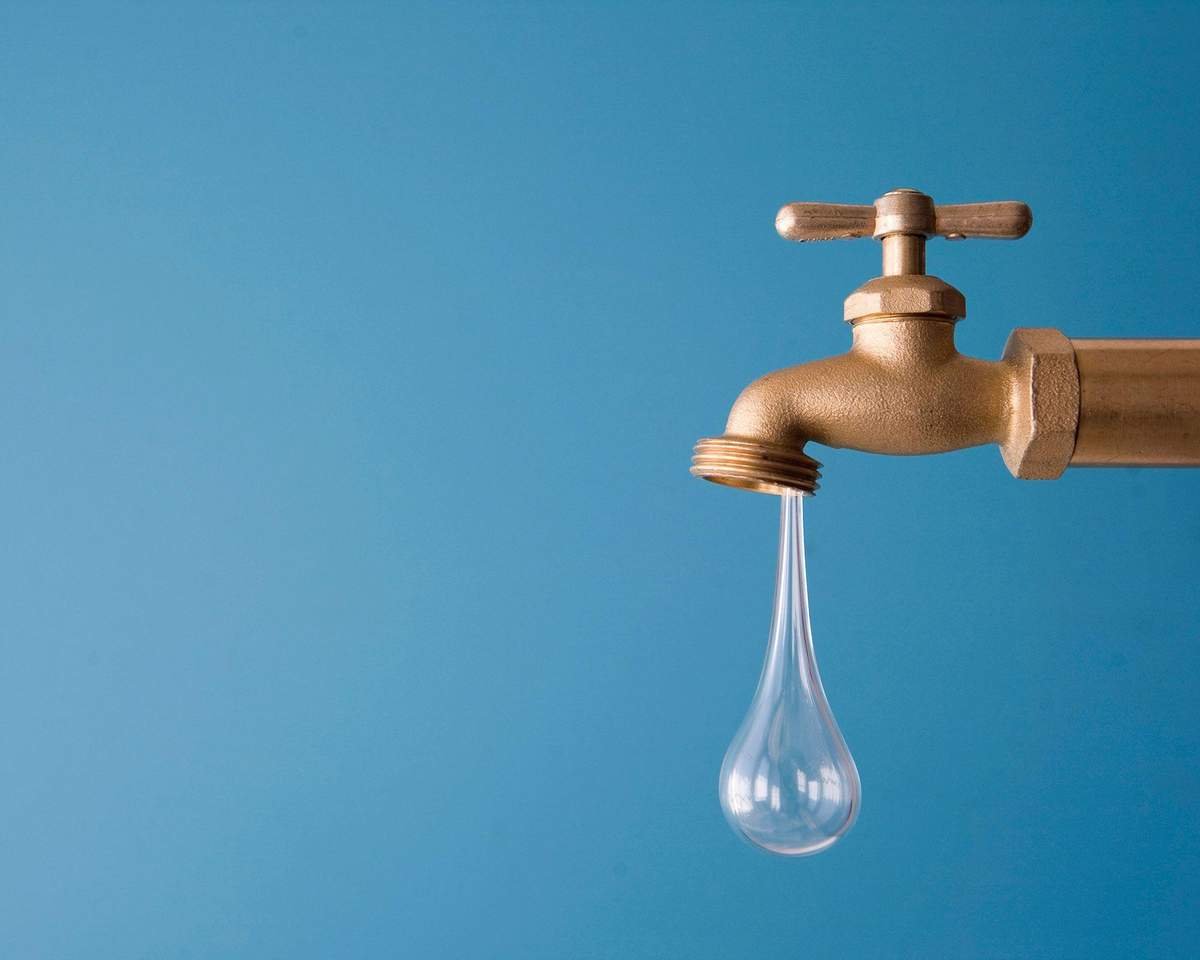
Knowing how to fix a leaky faucet is as crucial as mastering other essential household skills like replacing a faucet washer or unclogging a toilet. These fundamental techniques are invaluable to learn, just in case.
Leaks can occur from either the spout or the base of the faucet, so being equipped with the knowledge to fix a leaky faucet is vital. If you notice a dripping faucet, it's best to tackle the repair without delay. Acting quickly helps conserve water and save you money, as the USEPA points out that even a single drip per minute can waste 34 gallons in a year.
Steps to Repair a Leaky Faucet
Whether you're dealing with a bathroom sink or a kitchen faucet, here's how to make the repair with expert guidance.
1. Diagnose the Issue
To determine if your dripping faucet uses rubber washers or ceramic discs, simply turn the handle. If it only rotates a quarter or half a turn, your faucet likely has ceramic discs. If it rotates further, it uses a rubber washer. Understanding this distinction is crucial for effective repairs.
Worn O-rings are often the primary cause of leaks in kitchen faucets, but they can also be found in other types of taps. If you notice continued leaks after replacing the washer, check the O-rings and seals for wear.
For older faucets, a damaged washer is typically the source of the problem. Inspect the faucet, and if you spot slight damage on the washer, you can flip it over to temporarily halt the leak. However, plan to replace it with a new washer soon.
2. Shut Off the Water Supply
Before you begin fixing the leaky faucet, it's crucial to turn off the water supply. Locate your stop tap to shut off both the hot and cold water supply to your home.
3. Remove the Indicator Caps
Using a flathead screwdriver, carefully remove the red and blue indicator caps from the faucet.
4. Loosen the Grub Screw
Access the small grub screw beneath the indicator cap and use a 2mm Allen key to loosen it until you can remove the tap handle.
5. Unscrew the Collar
Next, unscrew the chrome collar of the faucet to reveal a larger nut underneath.
6. Loosen the Nut
Utilize your plumbing grips to loosen the nut, then unscrew and remove it by hand.
7. Take Out the Cartridge
With the faucet handle and outer casing removed, you can now replace the ceramic cartridge. Simply pull out the old cartridge and insert the new one.
8. Clean the Faucet Interior
Before installing the new cartridge, thoroughly clean the inside of the faucet, paying special attention to the screw thread where dirt and debris can accumulate, causing future issues.
9. Install the New Cartridge
Carefully fit the new cartridge into the faucet, making sure the lugs align with the corresponding holes.
10. Restore the Water Supply
Once the cartridge is replaced and everything is reassembled, turn the water supply back on.
What Causes a Faucet to Leak?
Common reasons for a leaky faucet include worn washers or gaskets, loose O-rings, or corrosion in the valve seat. When using your faucets, be careful not to over-tighten them, as this can lead to quicker wear of the rubber washers. Faucets with rubber washers and compression valves may drip a couple of times after being turned off, but additional tightening isn't necessary. Just allow any remaining water to drip out naturally.
Is DIY Faucet Repair Possible?
While many people opt to hire a plumber, fixing a leaky faucet is a relatively simple DIY task that only requires basic hand tools and a faucet washer kit.
As winter approaches, it's also important to know how to protect outdoor faucets from freezing. Neglecting this can lead to burst pipes, broken valves, or damaged joints if water is left in the tap. This is when preventative measures are necessary.