If you own an AeroPress, you must try the renowned AeroPress recipe crafted by James Hoffman, the 2007 World Barista Champion. This recipe is straightforward, easy to implement, and consistently produces a delightful cup of coffee. However, could it be even better?
During our experiments with various AeroPress techniques, we felt compelled to make some improvements. By tweaking the saturation levels and adjusting grind sizes, I refined the classic AeroPress recipe to create a superior version.
After months of trials, tastings, and adjustments, we have struck coffee perfection. If you want to wow your friends with your AeroPress skills, here's everything you need to know.
AeroPress Perfection from a Barista's Perspective
Before diving into the specifics, you might be curious about the original AeroPress recipe by James Hoffman. It's simple yet versatile, designed to yield superb coffee reliably. While it's great as is, Hoffman encourages experimentation based on it. Here's the basic outline:
Start with eleven grams of lightly roasted coffee, ground to a fine medium consistency. Use the AeroPress in an upright position with a paper filter, pouring in 200 ml of water heated to 210°F. Allow the coffee to steep for two minutes before gently pressing down. It's really that straightforward, but let's break down the details for perfection.
Refining the AeroPress Brewing Method

To begin brewing with this refined AeroPress recipe, you'll need to prepare a few essentials.
First, ensure you have medium-ground coffee on hand. The ideal grind size will vary depending on the beans you select. In Hoffman's recipe, he opts for lightly roasted beans for a robust cup at a lower ratio. Personally, I prefer a medium roast, specifically Union's Natural Spirit, but feel free to experiment with darker beans. Just remember to grind them a bit coarser and reduce the quantity per liter to around 60 grams for the best flavor.
Having coffee scales and a gooseneck kettle is highly recommended. While a regular kettle works, a gooseneck kettle offers precision pouring and ensures even saturation. The Fellow Stagg kettle, known for its elegance, is a favorite among baristas.
Once your coffee gear is ready, you can start brewing. Begin by placing the paper filter in the cap of the AeroPress. Although Hoffman doesn't rinse his filter, I suggest doing so. Wetting the filter will prevent it from absorbing any of the rich coffee oils, ensuring that all flavors make it into your cup.
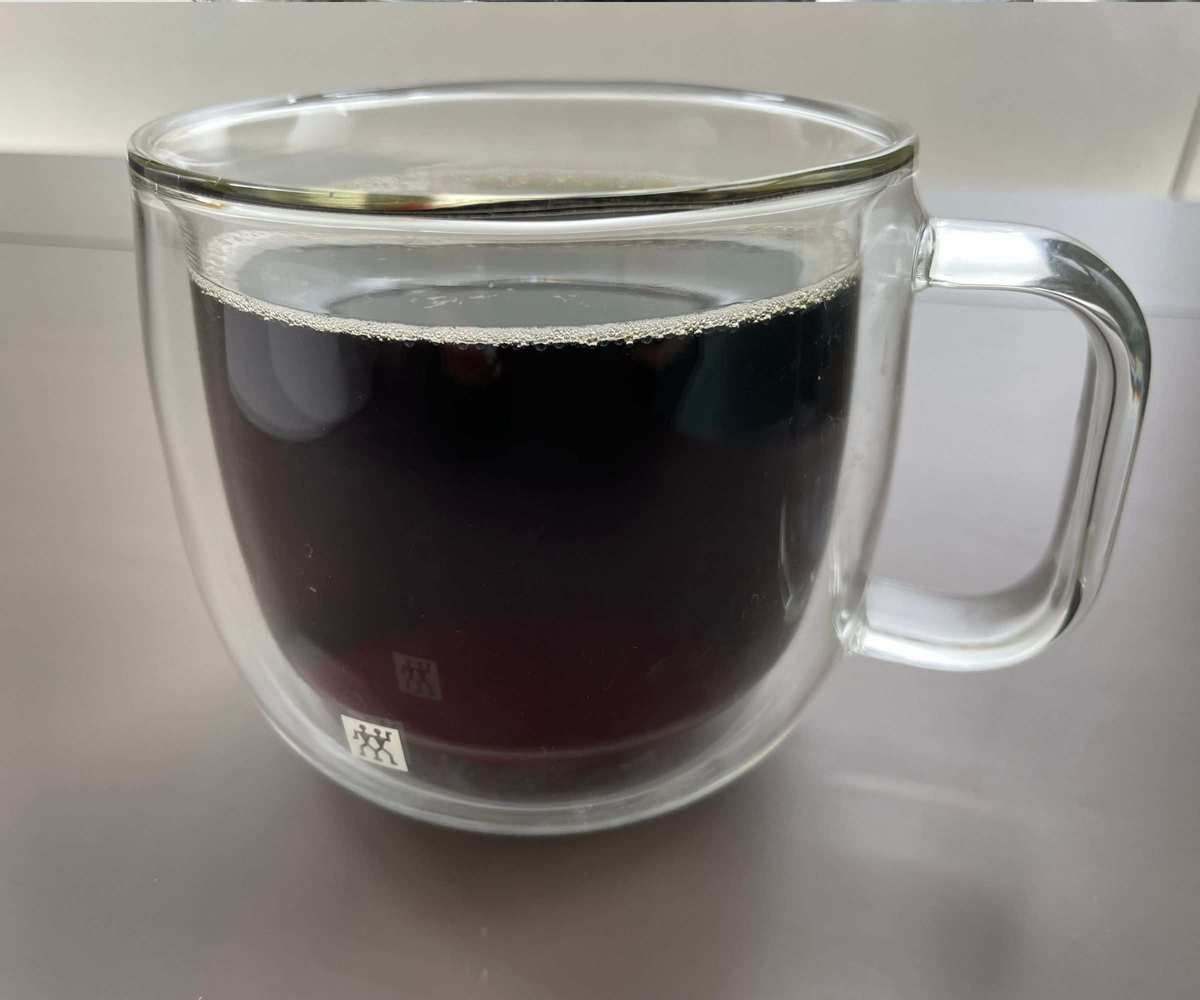
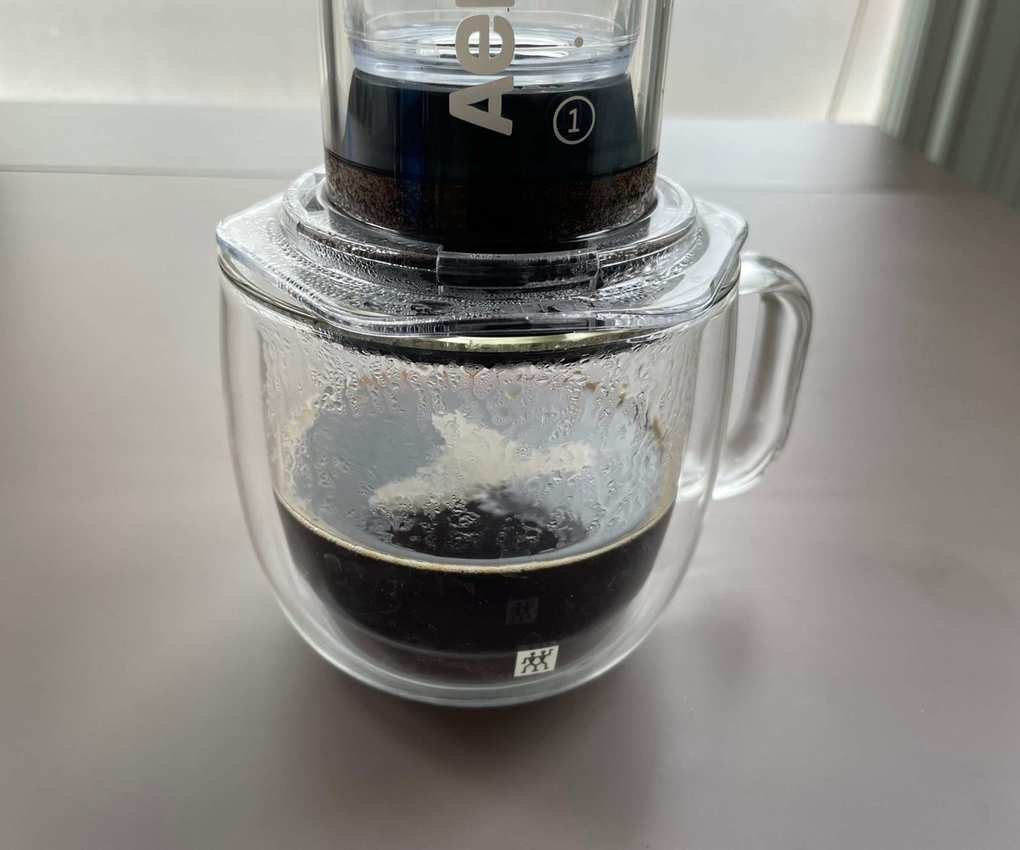
Set the AeroPress atop your cup or brewing container. Hoffman advises ensuring it's stable, as you'll need to apply pressure. I prefer brewing directly into my cup for the freshest taste.
Add the recommended 11 grams of coffee to start with, adjusting the amount based on your flavor preferences.
Next, heat your water. Hoffman notes, "For lighter roasts, you can use boiling water. For darker or medium roasts, lower the temperature. For really dark roasts, I recommend brewing at temperatures below 90 degrees, even down to 80." This is where a temperature-controlled kettle proves invaluable.
It's wise to filter your water before boiling. While some argue that minerals enhance coffee flavor, consistent mineral content isn't guaranteed. Investing in a filter pitcher or tap will help ensure you achieve reliable coffee flavors.
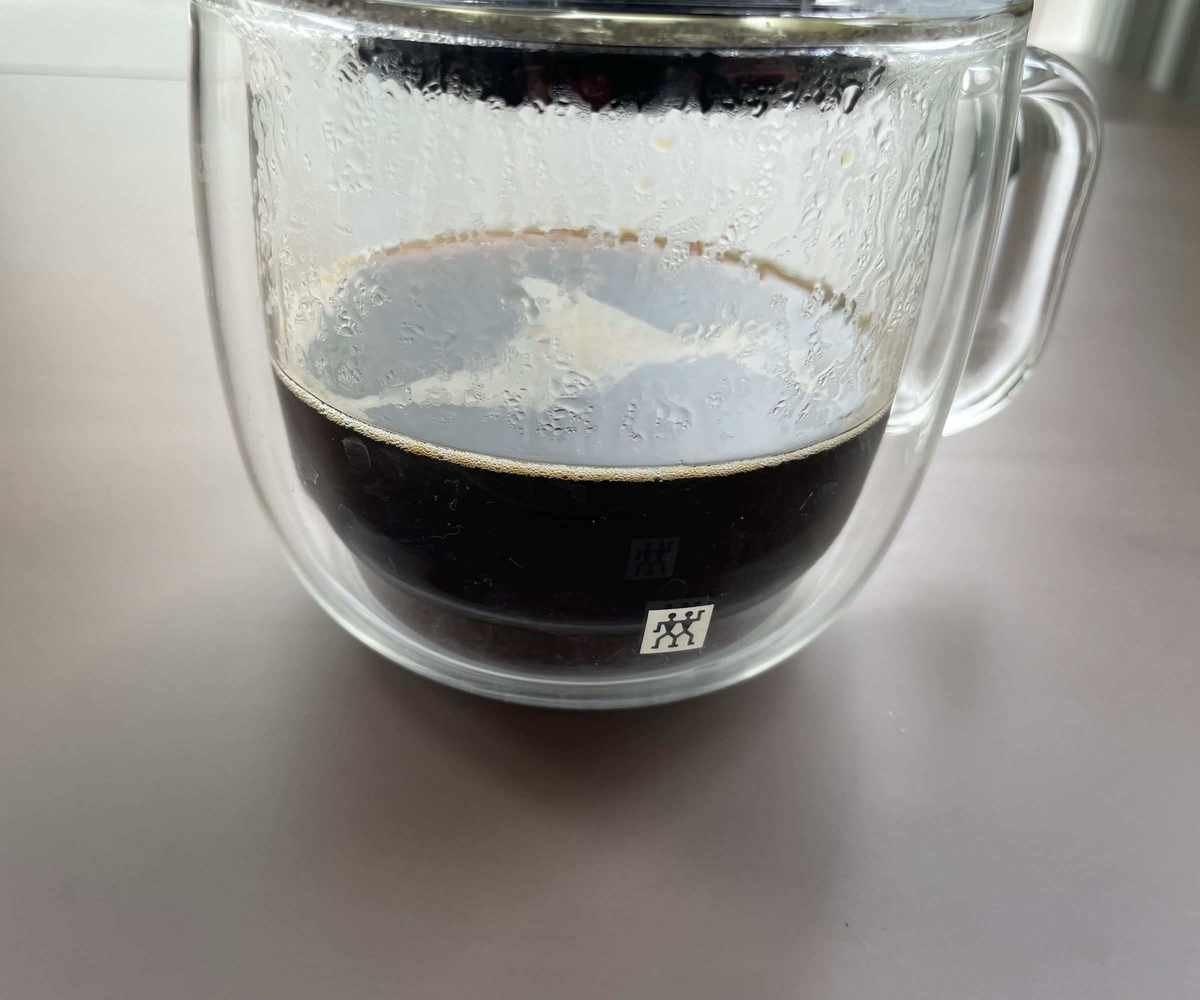
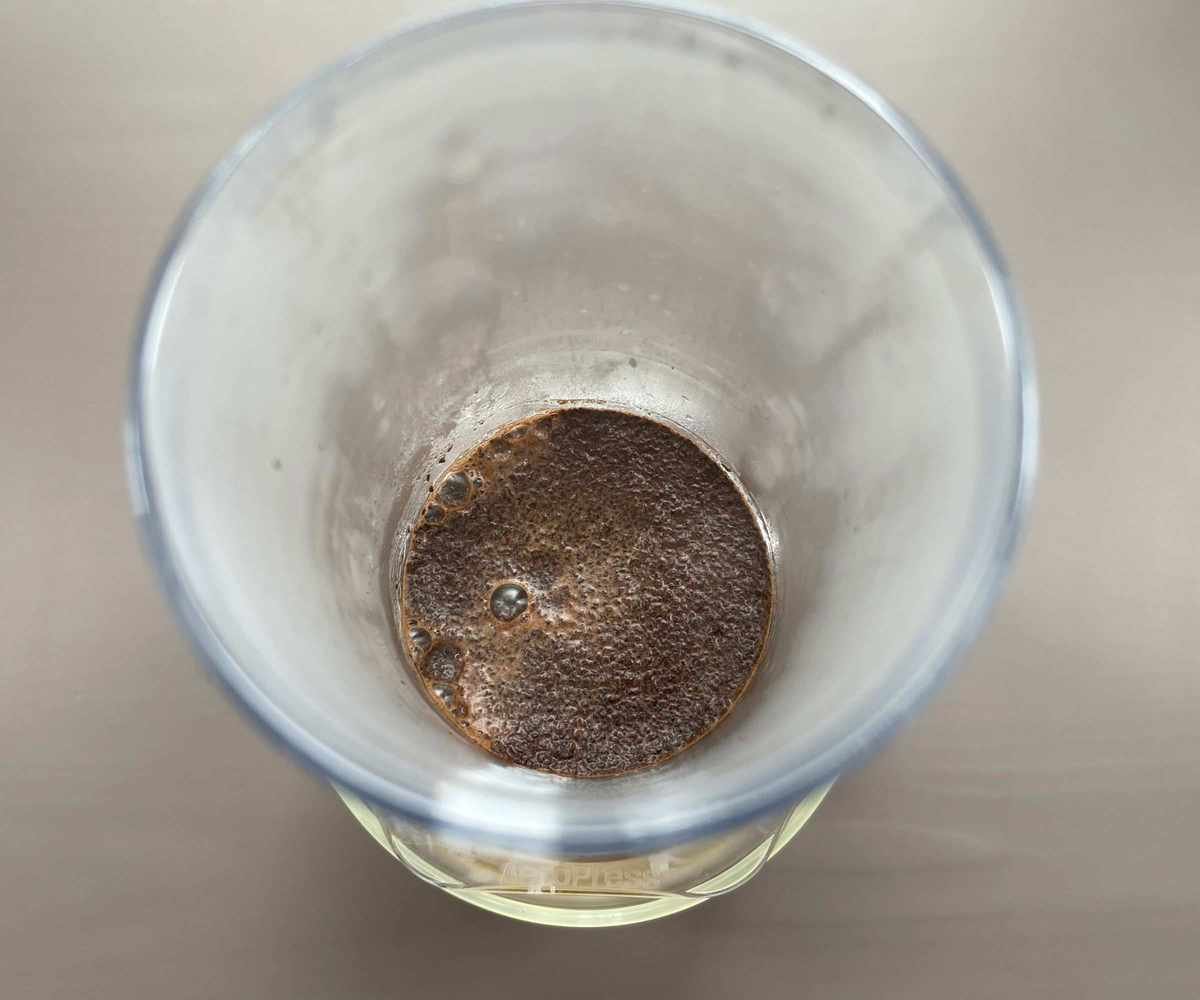
With your AeroPress and container placed on the coffee scales, start your timer. Hoffman adds all his water at once; however, I prefer pouring 50 ml over the grounds, inserting the plunger, and slightly pulling up to create a vacuum, which stops the water from filtering into your cup just yet. This allows the coffee to bloom, releasing carbon dioxide and enhancing sweetness and smoothness.
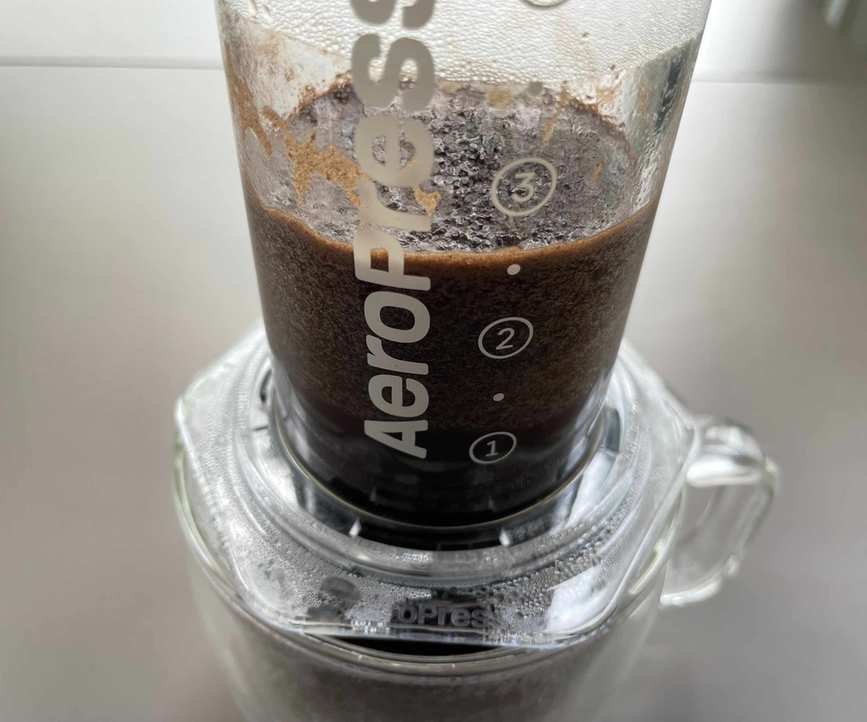
After thirty seconds, remove the plunger and add the remaining 150 ml of water, repeating the vacuum technique. Hoffman emphasizes that it's crucial to wet the grounds quickly by pouring in the center of the AeroPress. If you have a gooseneck kettle, you can create a spiral pour to cover all the grounds.
Hoffman recommends letting it brew for two minutes and gently swirling the AeroPress and base of the coffee. This step is essential. He explains, "When swirling, you're not aiming for a vortex, just gently pushing down any coffee grounds that have formed a crust to allow them to sink. Wait twenty seconds, then start pressing."
Hoffman advises to apply gentle pressure when pressing down. Steadily push, and you'll see your coffee start to flow. Once you've finished pressing, pull up slightly to prevent dripping.
What Equipment Does James Hoffman Use?
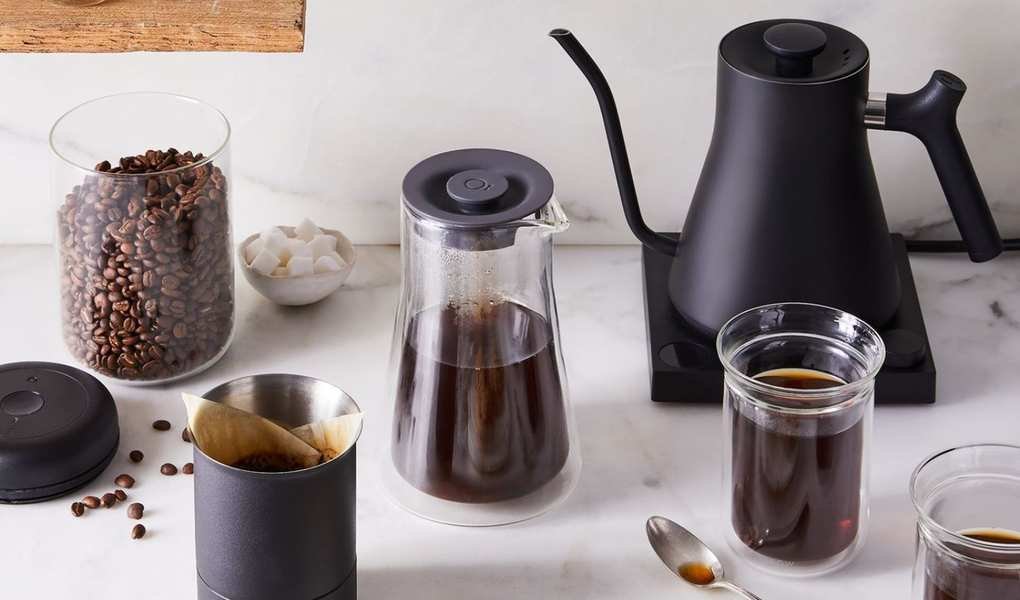
Curious about what tools experts prefer? James Hoffman has impeccable taste in coffee equipment. Here's a look at his kettle, scales, and AeroPress. While they are on the pricier side, having used them, I can attest to their quality.
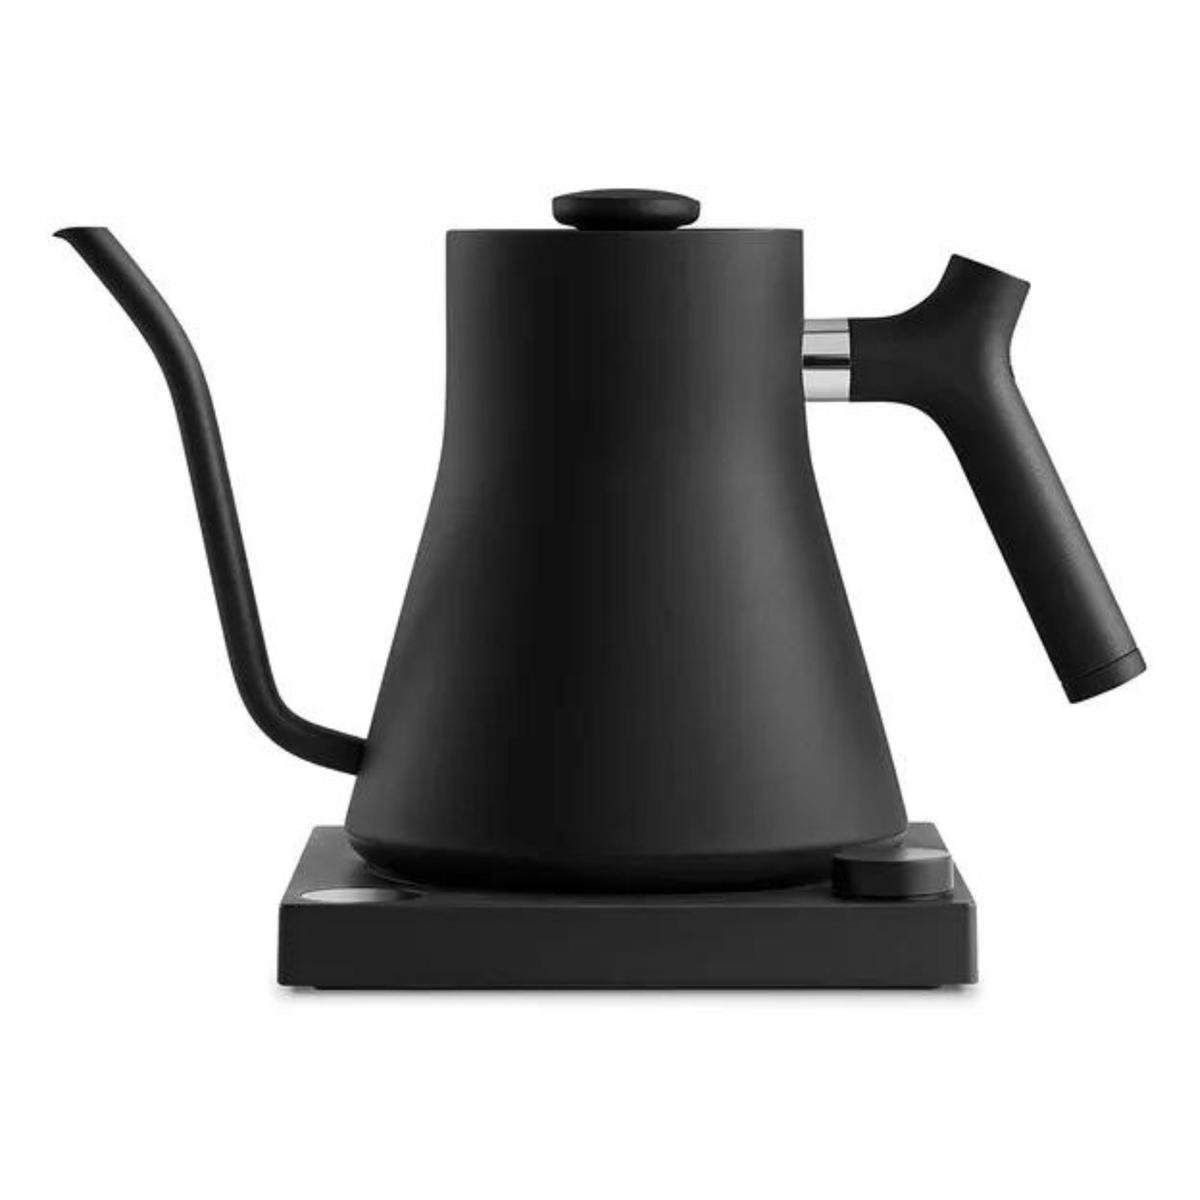
The Fellow Stagg Gooseneck Kettle is a favorite among professionals. It's what both James Hoffman and I use, along with many other baristas. It's aesthetically pleasing, adjustable in temperature, and offers precise pouring.
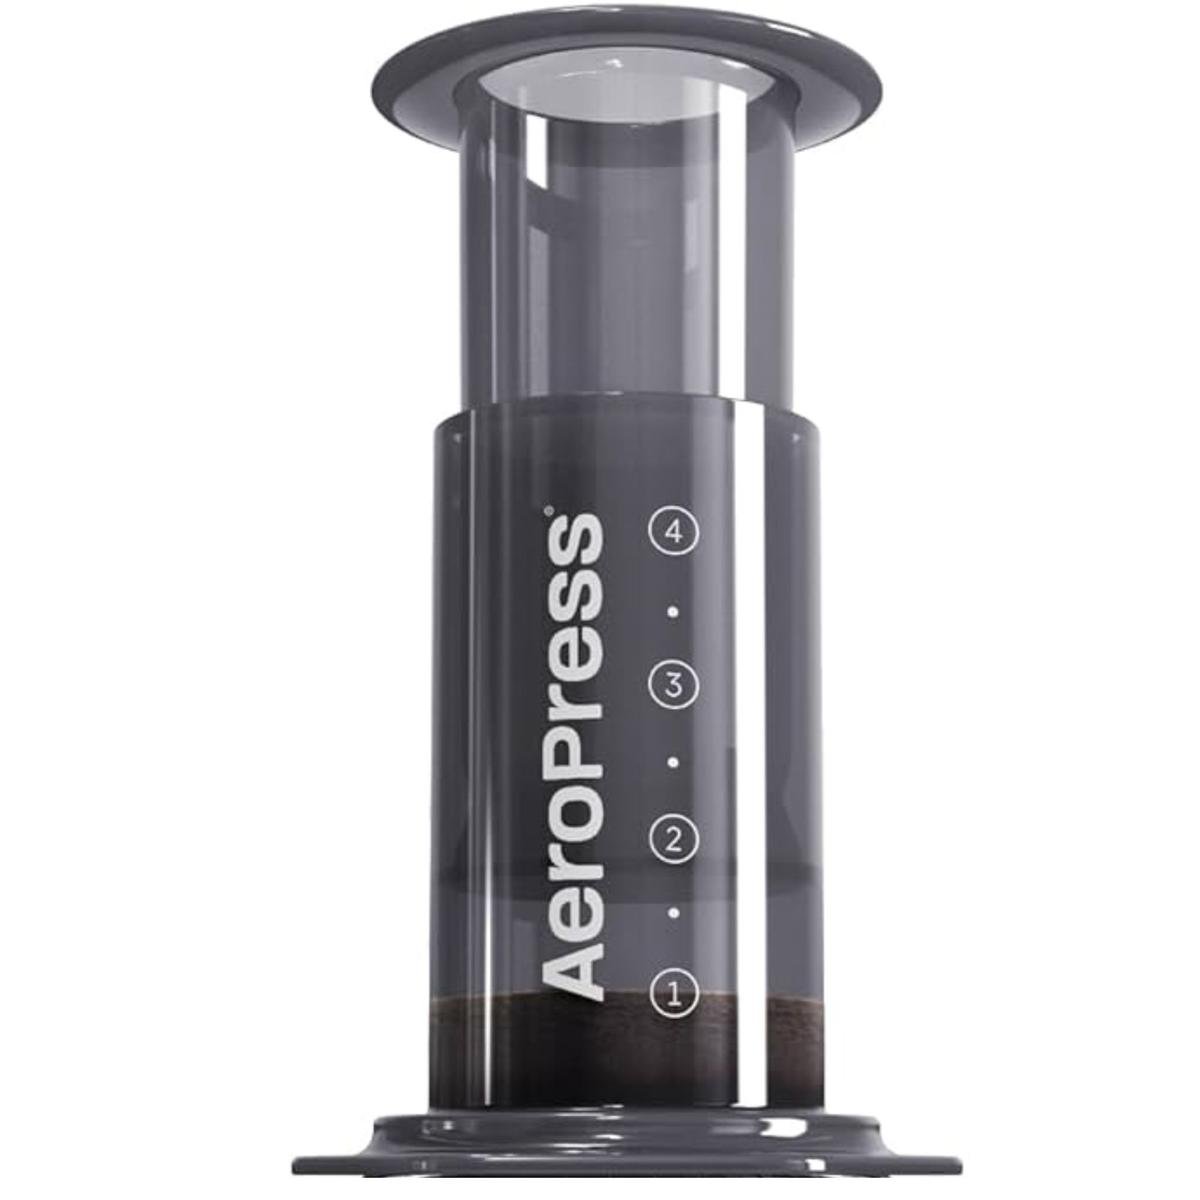
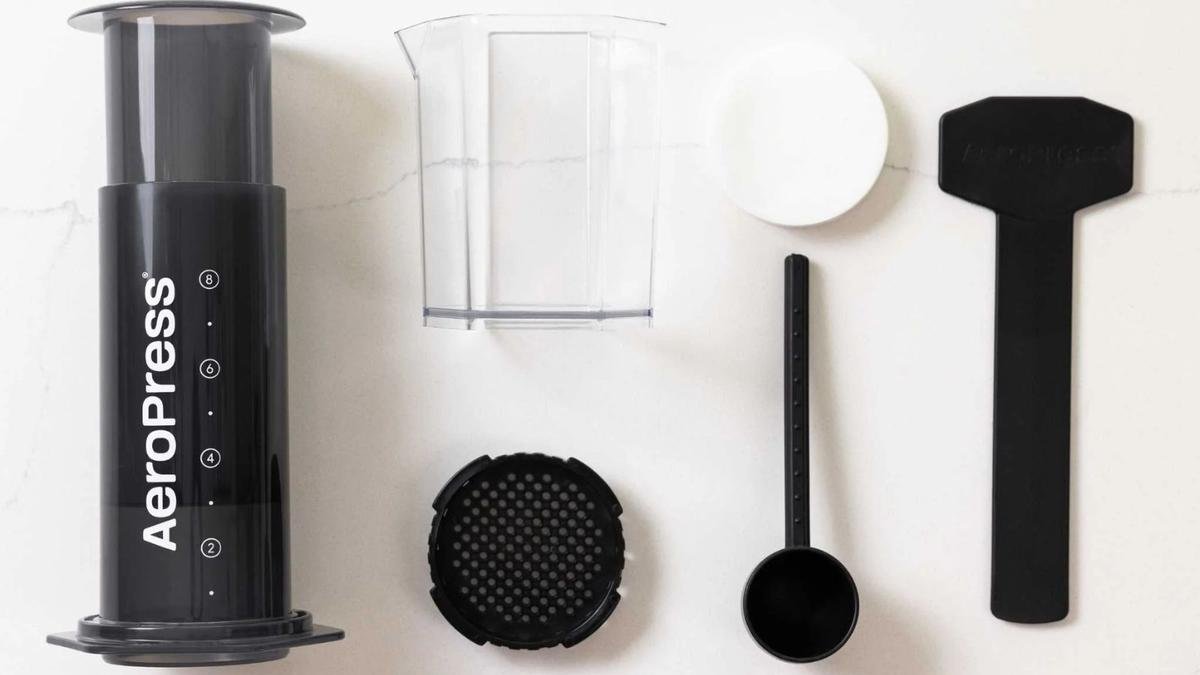
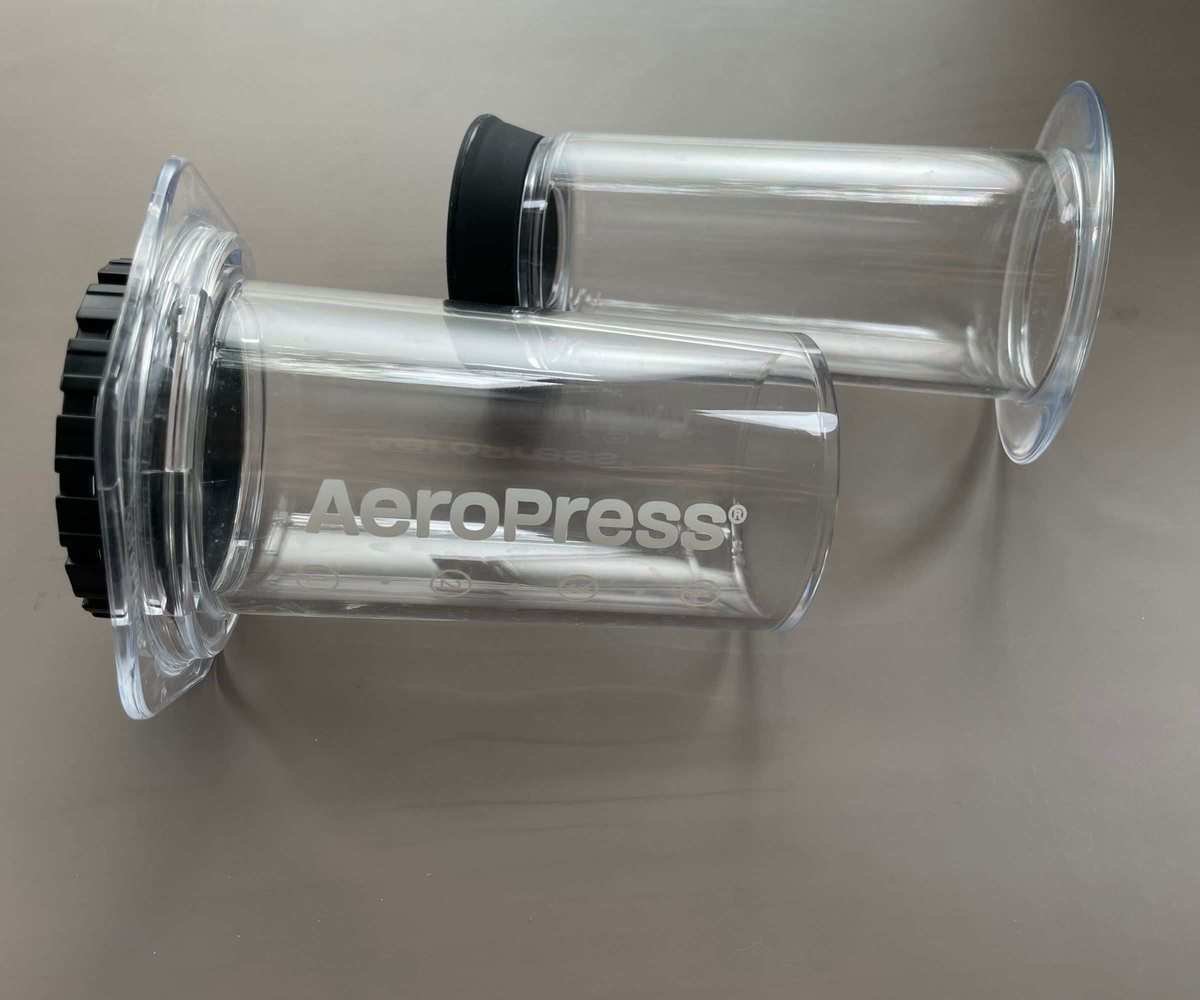
The original AeroPress is a classic choice. Hoffman utilizes it in all his videos, recommending that you select the model that best fits your needs. Each version is excellent, and I particularly enjoy the clear design.
James has produced a video comparing the best coffee scales available, indicating that there is no one-size-fits-all option. However, he claims that these particular scales have set the standard for smart scales. In contrast, I find simpler scales equally effective.
What If Your Coffee Doesn't Turn Out Right?
This method should reliably produce a delicious cup of coffee. If you encounter sour, bitter, or overly acidic flavors, consider making a few adjustments. Hoffman explains that the grind size or water temperature is often to blame.
If your coffee is too bitter, it may be ground too fine or brewed at too high a temperature. Conversely, if it tastes sour, try brewing at a higher temperature and grinding a bit finer. Adjusting these factors should lead to a more balanced cup.
Frequently Asked Questions
Do I Need Smart Coffee Scales for Brewing?
In Hoffman's video about smart coffee scales, he concludes that most coffee enthusiasts can manage without the complexities of smart scales. Basic scales will suffice. However, if you want to explore further, here are some of the best options available.
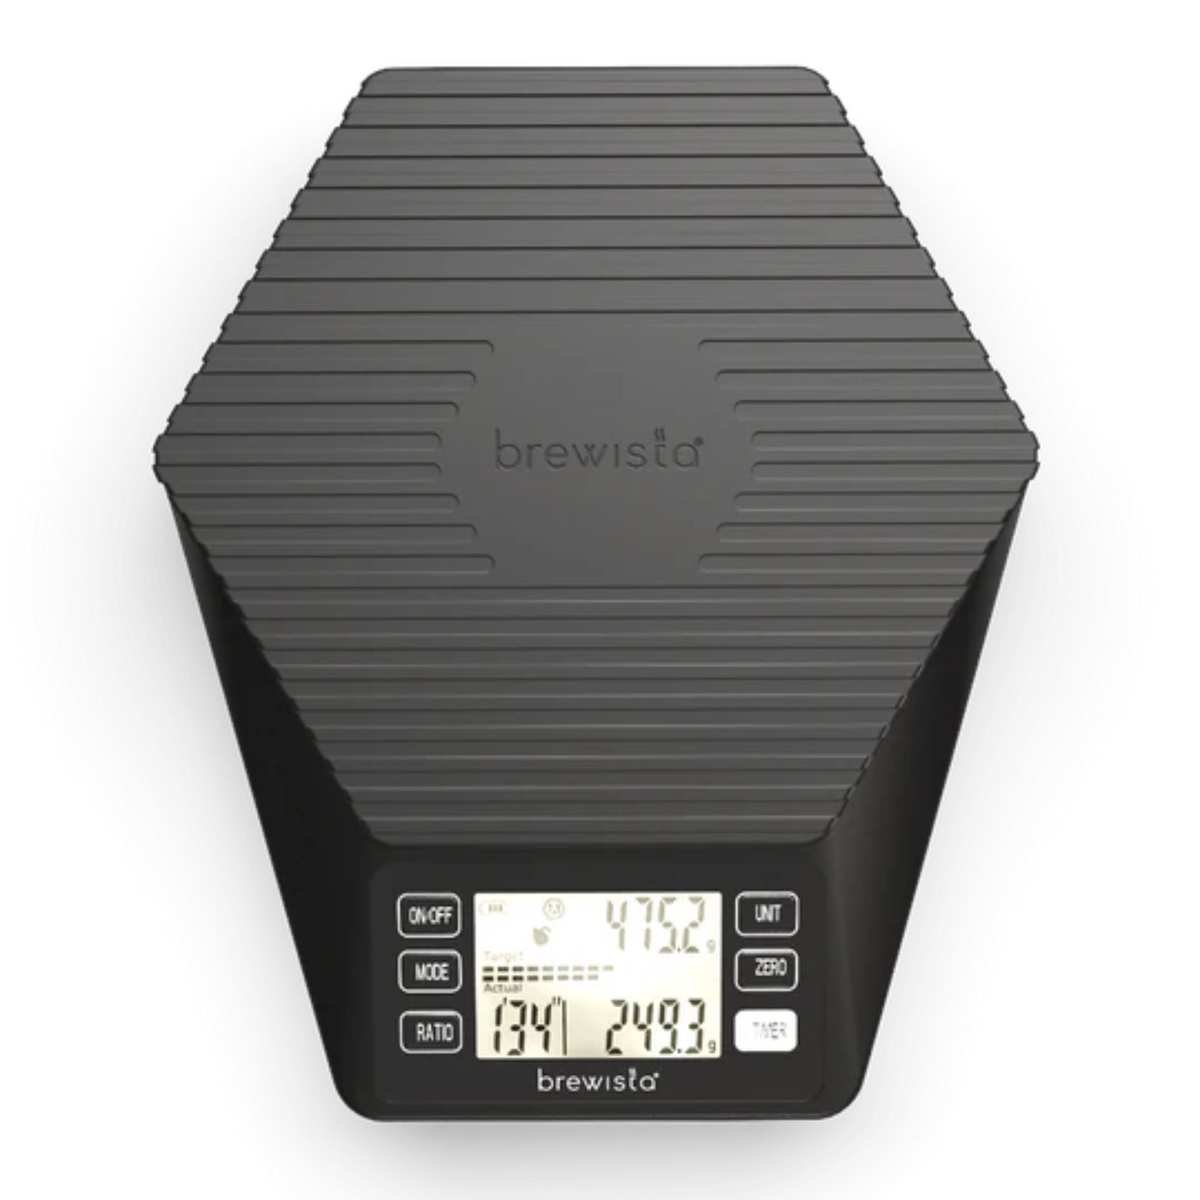
- Brewista Ratio: arguably the best smart scales on the market.
- Pearl Model S: offers enough technical features for professionals, though at a higher price point.
- OXO Brew: affordable and user-friendly, featuring a handy timer.
- Fellow Tally: pricier but accurate, precise, and automatic.
How Should I Use My AeroPress?
There are two primary methods for using an AeroPress, both of which I've detailed in my dedicated article on AeroPress usage.