Creating compost at home is straightforward, and once you start, you'll wonder why you didn't do it sooner. Making your compost is an affordable and effective way to enhance your soil, and there's a rewarding feeling that comes with nourishing your garden with homemade compost.
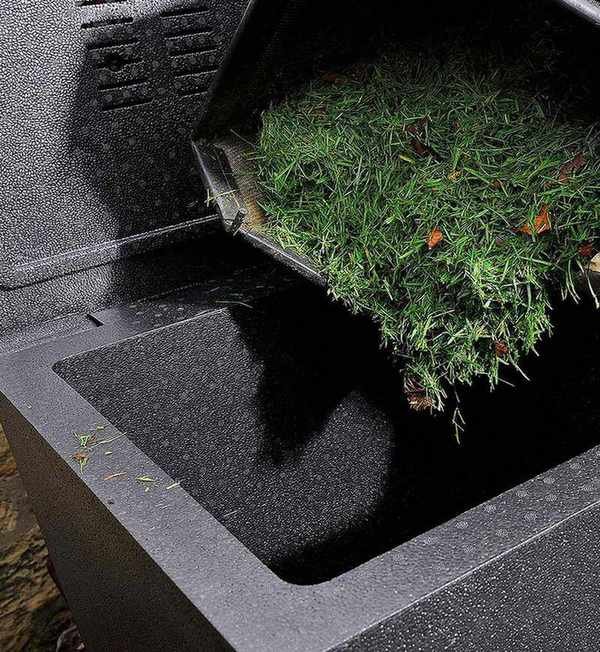
However, composting isn't merely about tossing scraps into a pile. If you add too much of one type of ingredient at once, your composting process can become unbalanced, slowing down production. For instance, an excess of grass clippings can turn your compost into a soggy mess.
By following a few essential tips, you can easily make compost at home. Our complete guide will help you get started.
Creating Compost at Home
Any time of year is suitable for starting your compost, but late summer to early winter is optimal.
Select a compost bin that fits your available space and place it in a shaded area.
Achieving the right blend of ingredients is crucial for effective composting. Think of it as a recipe: gather the necessary components, let them mix, stir occasionally, and add water if the mix seems dry.

Step-by-Step Composting
Here's a straightforward guide on how to make compost.
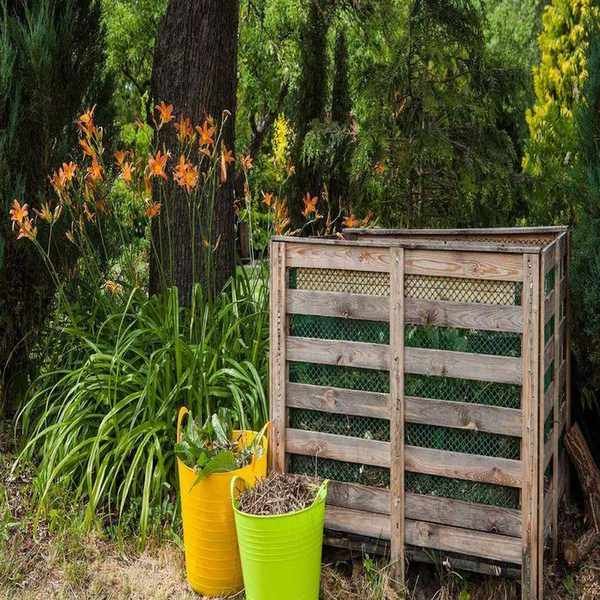
1. Select the Right Compost Bin
Your compost bin should provide ventilation and drainage. A traditional slatted wooden bin works best as it allows the soil to activate the composting process.
For smaller gardens, plastic tubular compost bins with an open base and a lid are excellent for continuous composting, where you add waste at the top and harvest compost from the bottom.
If you prefer a low-maintenance approach, consider lazy composting, which doesn't require a bin.
2. Find the Ideal Location
Place your compost bin away from your house but still accessible from the kitchen. It should sit on soil to allow liquids to drain effectively.
For optimal results, choose a shady or partially shaded area, especially if you're planning a kitchen garden.
3. Get the Right Mix
To create quality compost, combine both woody and green waste materials. Avoid overloading on one type. Layering materials can also expedite the process.
Begin with straw or newspaper at the base, then alternate green materials (like grass clippings, vegetable scraps, or soft prunings) with brown materials (such as shredded cardboard, dry leaves, and small twigs).
A good ratio is 25 parts brown materials to 1 part green materials. Cold barbecue ash can also be added, provided it's devoid of food remnants.
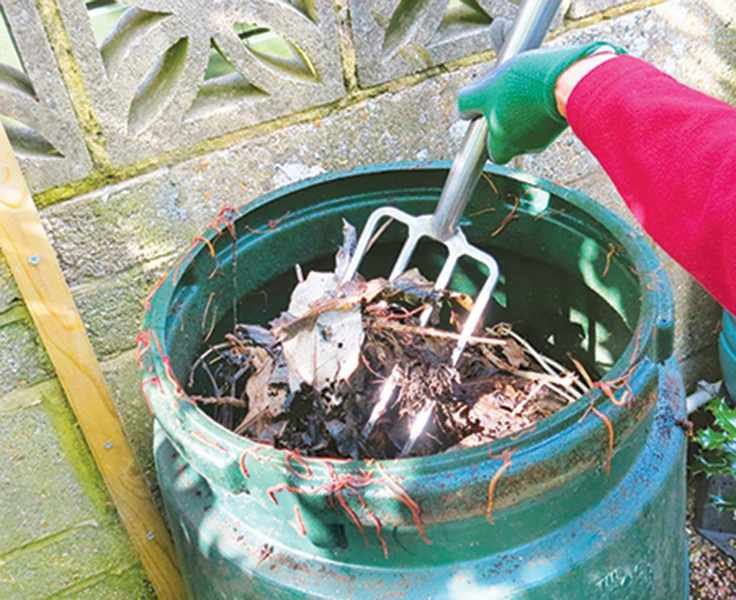
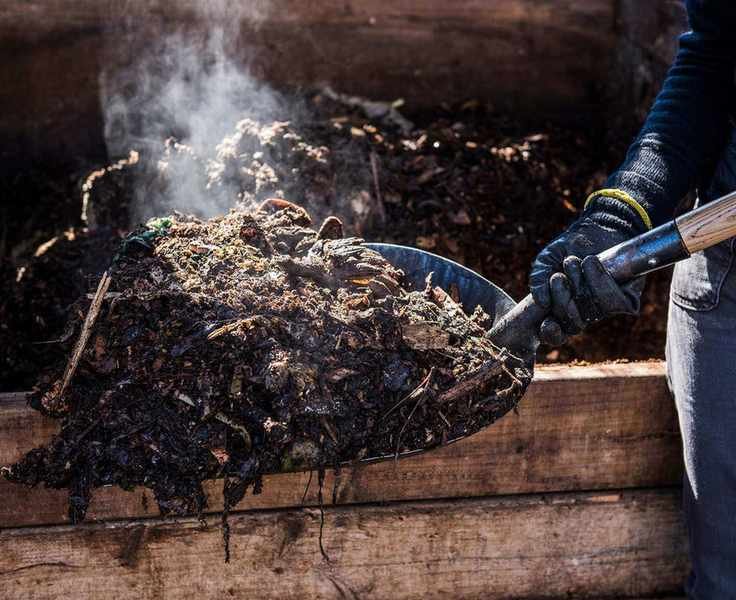
4. Turn Your Compost Regularly
Regularly aerate your compost by lifting and mixing the material with a fork every few weeks. Without proper air flow, compost can become compacted and unpleasant.
When turning compost in cooler months, be mindful of any wildlife that may have taken refuge in the warmth of your pile.
For larger heaps, consider using a compost aerator to introduce air.
5. Maintain Moisture Levels
Insufficient moisture can halt decomposition, so water your compost during dry spells. Adding fresh vegetable scraps can also help maintain moisture.
If the compost becomes overly wet, incorporate shredded cardboard or woody materials to balance it.
Should I Cover My Compost?
If flies are an issue, cover kitchen scraps with garden clippings to deter them. Monitoring moisture levels is essential; too much can suffocate the compost.
In rainy weather, use a cover to prevent excess moisture.
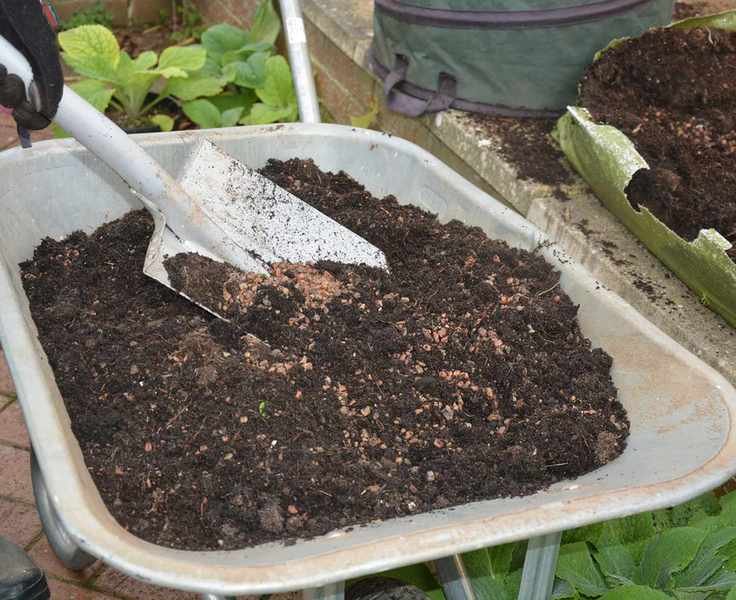
Compost Maturation Time
Composting can take several months to over a year, influenced by temperature and material quality. You'll know your compost is ready when it has a crumbly texture, deep brown color, and earthy smell. Some parts may mature faster than others, so you may need to reprocess some materials.
With hot composting, results can be ready in as little as four weeks. By monitoring temperature and turning the pile regularly, you can achieve a quality compost in a month. Let it rest for a couple of weeks before use.

Fast Composting Techniques
Hot composting is gaining popularity for its efficiency. Modern hot composting bins can create high-quality compost in just weeks. Alternatively, you can build your own hot compost heap.
Using a compost tumbler, which is a drum that rotates easily, can lead to rich compost in about three weeks with regular turning.
For compact spaces, wormery bins are perfect, as they require minimal space and come with everything needed, including worms.
These self-contained systems convert kitchen waste into nutrient-rich compost while producing leachate, a concentrated liquid fertilizer that you can dilute for use.
Hot vs. Cold Composting
There are two primary composting methods. Cold composting involves gradually adding organic matter and allowing it to decompose naturally.
Hot composting relies on temperature to accelerate the process, producing compost much quicker.
Hotbin composters are compact and efficient, reaching temperatures of 60°C, allowing composting of various kitchen and garden waste in just 30-90 days without needing to turn the pile.

Is Hot Composting Superior?
Hot composting's main advantage is speed; it can produce compost within weeks, while traditional methods may take six months to two years.
Cold composting, while slower, requires less maintenance after initial setup, which appeals to many gardeners.
Many hot composters accommodate a wider variety of waste, including meat scraps.
Hot Composting Steps
- Prepare the area: Designate a space of at least 120x120cm or invest in a hot compost bin.
- Chop ingredients: Use a lawn mower to break them down for faster decomposition.
- Add ready-made compost: This acts as an activator to kick-start the process.
- Moisten the mixture: Ensure ingredients are evenly damp.
- Monitor the heap: Keep track of temperature and moisture; the ideal range is 60-68°C.
- Turn the compost: When the temperature drops, mix it to reactivate microbial activity.
- Adjust moisture: If it's too dry, add water; if it smells bad, it may be too wet; add shredded newspaper to absorb excess moisture.
- After 2-3 weeks: Expect dark, crumbly compost, but let it rest for another two weeks before use.
Composting Autumn Leaves
Autumn leaves can enhance your compost heap for spring. Shred them with a mower and layer them with grass clippings and kitchen waste for better breakdown. Remember to aerate with a garden fork periodically.
If you're tidying the garden in late summer, it's a great time to start composting with leaves.

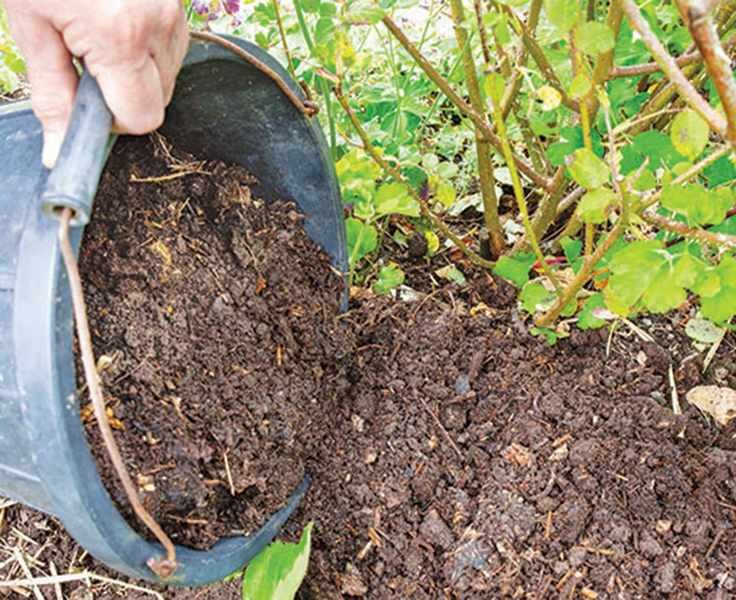
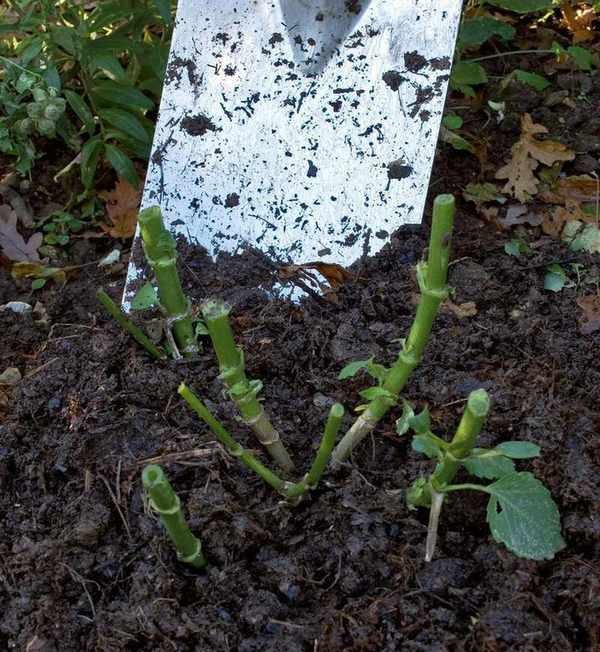
Using Your Homemade Compost
There are many applications for your compost. It serves as an excellent soil amendment for flower beds, vegetable gardens, and ornamental shrubs. You can use it as a mulch or mix it into the soil.
Gently spread compost around trees, blend it with potting soil for houseplants, or sprinkle it over lawns to improve soil quality.
Because homemade compost is potent, mix it with other materials for seed starting or young plants to prevent burning.
Spring is the ideal time to use compost, as plants will thrive on the released nutrients.
Additionally, you can create compost tea, an organic fertilizer, using your compost.
Understanding Peat-Free Compost
If making compost isn't feasible, consider peat-free alternatives that are environmentally friendly. These typically contain composted bark, coconut coir, and green compost, along with grit or perlite for optimal growth.
There's a growing movement against peat-based compost due to its environmental impact. Peat bogs are crucial for carbon storage and biodiversity.
Look for organically certified compost when purchasing to ensure it meets strict environmental standards.