
Want to master painting a wall? With some expert guidance, you can achieve a flawless finish on your next DIY endeavor.
"There's no quick fix for painting walls," says a professional expert. "Success hinges on surface preparation and taking your time. Always read labels and follow instructions thoroughly."
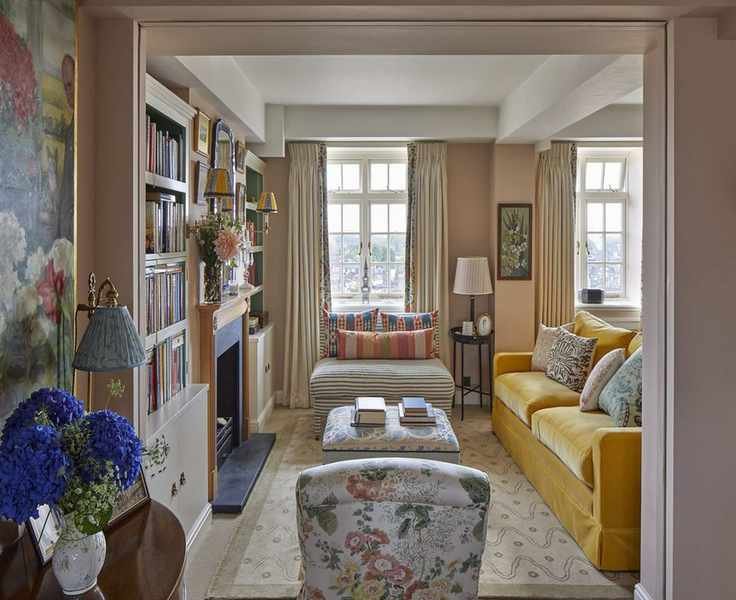
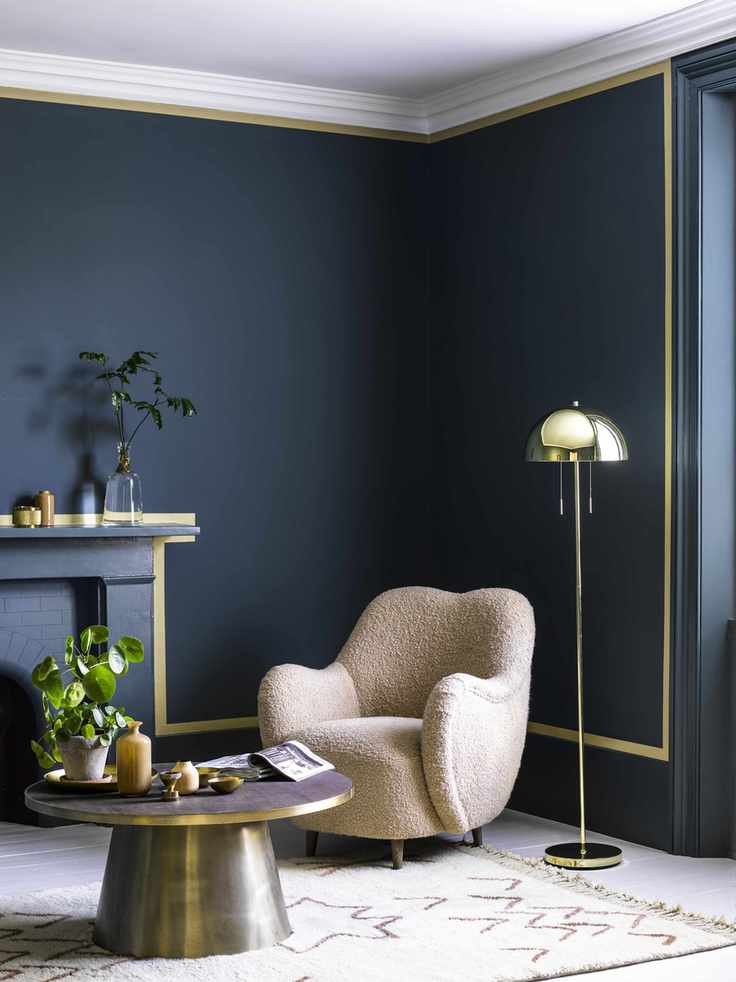
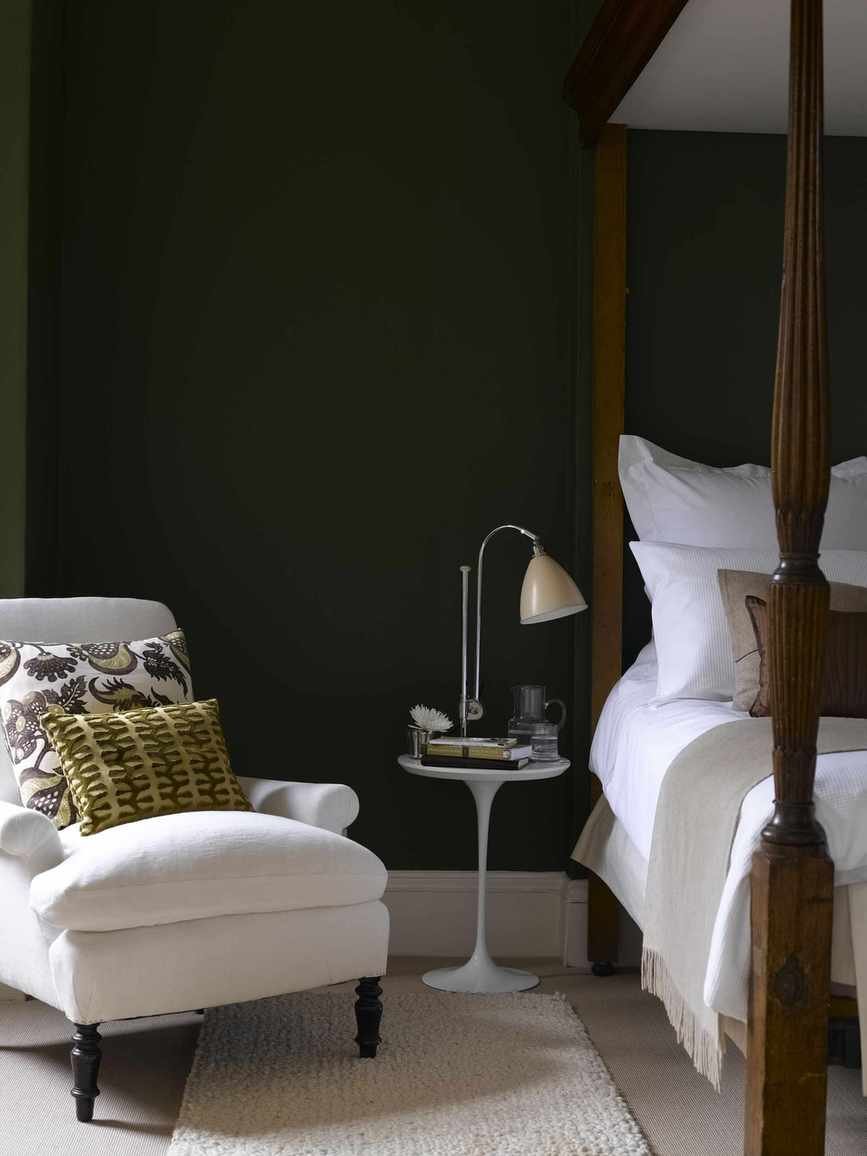
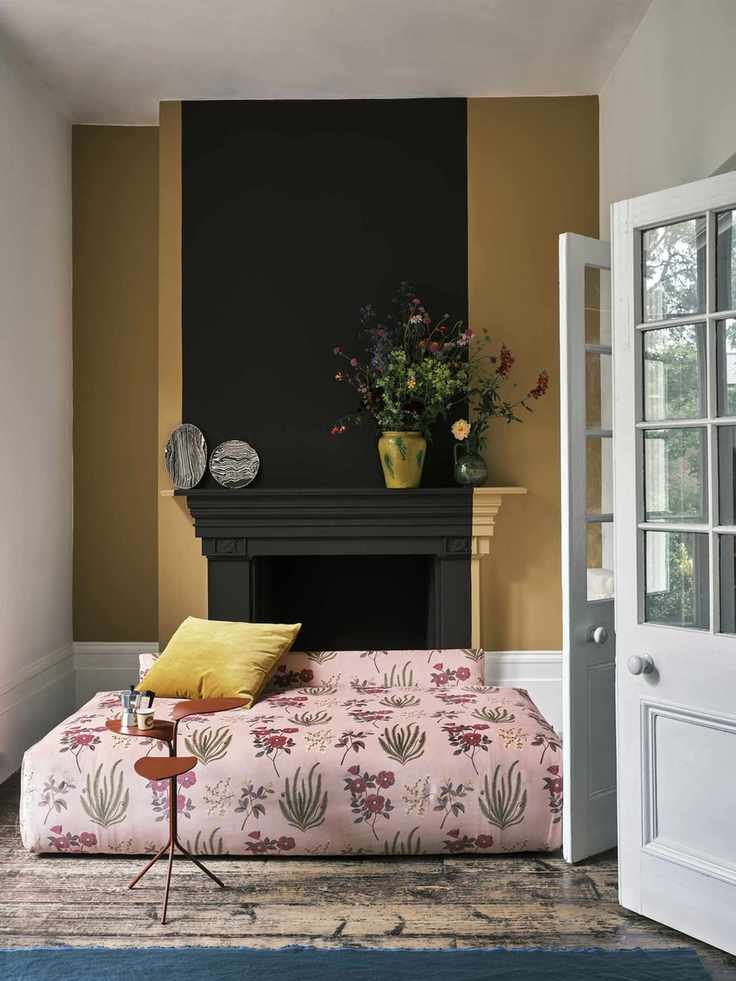
Check out more tips and painting ideas below.
Achieving a Professional Look When Painting a Room
Use these essential tips for painting walls to ensure stunning results.
1. Use Quality Tools
Having the right tools is crucial. You'll need:
- Clean roller sleeves to eliminate loose fibers before painting
- High-quality roller sleeve and handle; choose a 3/8-inch sleeve for most finishes, a 1/4-inch sleeve for glossy surfaces, or a thicker 1/2- or 3/4-inch sleeve for textured walls
- Painter's tape
- Paint tray
- Extension pole
- Step ladder
- Quality paint, such as premium products designed for interior use, or a paint specifically formulated for DIY projects, which helps with touch-ups.
2. Proper Preparation is Key
Getting the walls ready for painting is essential. Start by cleaning the surfaces.
Generally, you can wash walls with a sponge and warm water. If you spot mildew, ensure it's completely removed.
Priming is also vital; use a deep base primer for darker colors.
3. Apply Painter's Tape
Once the walls are clean and dry, apply painter's tape to protect sockets, switches, and baseboards.
Using painter's tape will help guard moldings and switches against drips and give you a tidy finish. Be sure to apply the tape carefully to create a strong seal and prevent paint from seeping underneath.
4. Start with the Ceiling
People often ask whether to paint the ceiling or walls first. Always tackle the ceiling first and cover surfaces below with drop cloths.
Clear the room if possible to simplify the process, and if you can't remove overhead fixtures, protect them with tape or carefully paint around them.
Begin by painting the edge of the ceiling where it meets the wall, feathering into the corner. Use a roller to cover the rest of the ceiling, starting near a window to see the wet paint better. Roll slowly near walls to prevent accidental splatters.
Once you load the roller, start on unpainted areas, working back into painted sections. Complete the ceiling in one go for an even finish, checking label instructions for drying times.
5. Cut in Around the Walls
After the ceiling dries, move on to the walls.
Use a 2½-inch angle sash brush to 'cut in' along the ceiling, corners, windows, doors, moldings, outlets, and switches before using a roller.
6. Time to Roll
Line your paint tray and pour in the paint. Load your roller by rolling it on the raised area of the tray.
Touch the paint without fully immersing the sleeve, repeating until it's saturated.
Start rolling from the top down, overlapping each row by 3-5 inches. Use light pressure, letting the roller do the work to avoid drips.
Each time you reload, start on an unpainted area and roll back into the previously painted section. Your extension pole should allow you to reach all areas comfortably.
7. Avoid Overlapping Large Areas
Avoid painting too large sections all at once to prevent streaks. Focus on smaller areas to maintain a 'wet edge,' which will give you a uniform look and help avoid lap marks.
8. Apply Multiple Coats
For optimal coverage and color depth, apply at least two coats of your topcoat. Refer to the paint can for drying times and ensure the first coat is fully dry before adding the next. Allow adequate curing time before reattaching fixtures or frames.


