

Kitchens
Transform your kitchen by painting your cabinets for a fresh and modern look. This project can completely rejuvenate the space.
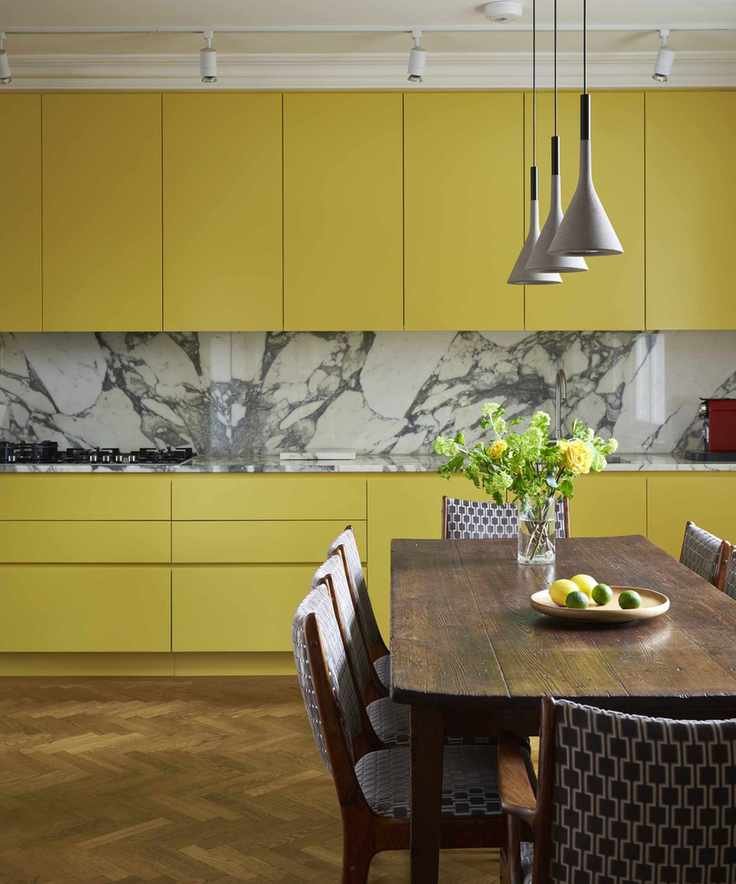
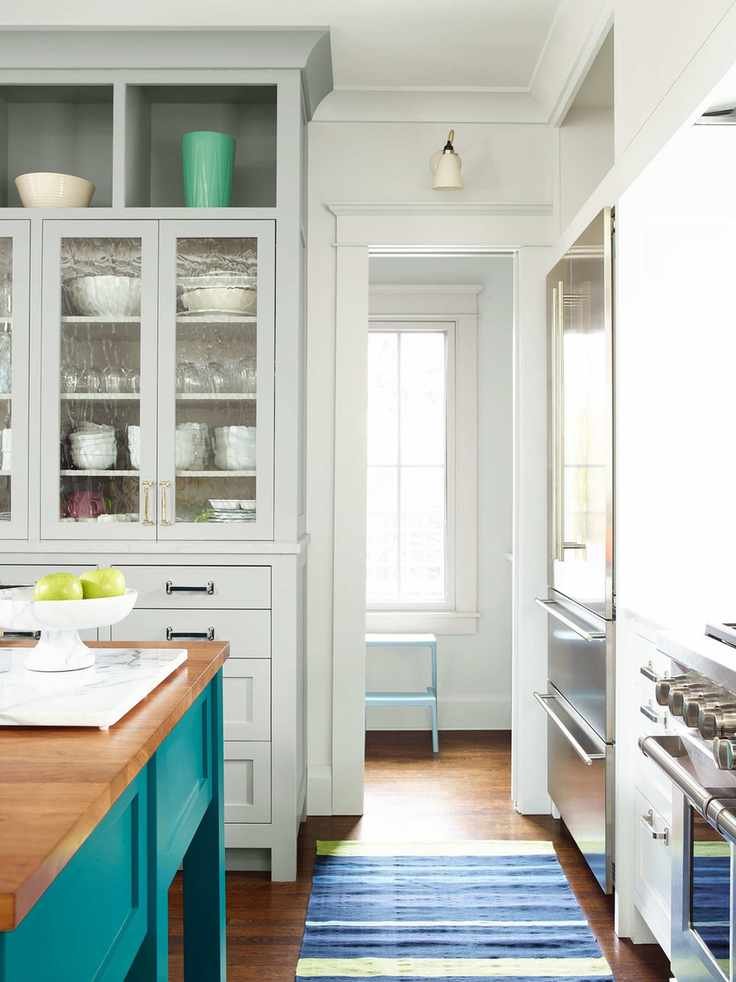
Whether you're painting the entire kitchen or just focusing on the cabinets, select colors that harmonize with your countertops, backsplash, and flooring. A thoughtful choice can significantly enhance the overall aesthetic.
While this task requires patience and attention to detail, the results are undeniably rewarding. Here's a straightforward guide to ensure you achieve a fantastic finish.
Steps to Paint Kitchen Cabinets
According to design experts, a fresh coat of paint can significantly alter the atmosphere of your home. It breathes new life into worn-out cabinets, making them look brand new.
Once you've decided on your preferred cabinet style, our guide covers all you need to know about painting your kitchen cabinets effectively.
What's the Best Way to Paint Kitchen Cabinets?
The ideal method involves thorough preparation: clean the cabinets, remove doors and drawers, sand as needed, apply primer, and then paint—following this sequence is crucial. Proper prep is essential to avoid issues like peeling or bubbling, as emphasized by professionals.
Follow our detailed steps below, and make sure to check out additional tips for painting kitchen cabinets to ensure you cover every stage.

This DIY task can save you money on cabinet painting costs, but don't rush through the process. Taking shortcuts may lead to unsatisfactory results.
Allocate adequate time for cleaning, prep, primer application, and drying. Expect the entire process to take around four to seven days for a professional outcome.
Painting Kitchen Cabinets Without Sanding

Regardless of the colors you select, it's possible to paint cabinets without sanding. Smooth, raw wood can be painted directly, but varnished surfaces require a different approach.
For cabinets that have been previously varnished or painted, a liquid sander or deglosser prepares the surface for paint adherence. The goal is to make the surface matte, not to strip the wood.
Alternatively, use paint specifically designed for application without sanding, such as products from well-known brands.
Bonding primer can also help paint stick to challenging surfaces, but ensure compatibility with your chosen paint.
Step-by-Step Guide to Painting Kitchen Cabinets
Gather These Supplies:
- Screwdriver
- Masking tape
- Pencil
- Degreaser
- Non-scratch sponge
- Sandpaper (medium and fine grit, if needed)
- Lint-free cloth
- Primer (if needed)
- Paint
- Paint stirrer
1. Detach Doors and Drawer Fronts
For the best results, remove cabinet doors and drawer fronts. This technique allows for easier painting and avoids excess drips, as noted by professionals.
Don't forget to label the doors and drawers for easy reinstallation later.
2. Clean Thoroughly
Empty cabinets and drawers, then use a degreaser to clean all surfaces. Remove any food spills or stains from inside the cabinets as well.
Protect your kitchen floor and appliances during this process.
3. Sand the Surfaces
If sanding is necessary, use medium 120 grit sandpaper to prepare the cabinet doors. Focus on any crevices before moving to flat surfaces and edges.
After sanding, eliminate dust with a damp cloth and vacuum.
4. Prime the Cabinet Surfaces
Utilize painter's pyramids to easily access all areas while priming. Priming is crucial unless your paint doesn't require it. Select a primer suited to your cabinet material.
For wood, choose an oil-based primer to prevent bleeding. Apply a coat evenly, let it dry, sand lightly, and apply a second coat if necessary.
5. Paint the First Coat
Stir your paint thoroughly, then start with the back of the doors before moving to the front. Aim for thin, even coats rather than a thick layer.
Allow to dry completely, then lightly sand the surface again and wipe clean.
6. Apply Additional Coats of Paint
Continue with a second coat, focusing on an even finish and avoiding brush strokes. Sand lightly before applying more coats if necessary.
7. Let the Paint Cure
Follow the manufacturer's instructions for curing time. This step is vital for achieving a professional look.
8. Reattach Doors and Drawer Fronts
Once everything is dry, reinstall the hardware and hang the doors back. If you're replacing hardware, plan this from the start to avoid any mismatches.

Can You Just Paint Over Cabinets?
You can definitely paint over kitchen cabinets, or even opt for staining or refinishing as alternatives. However, thorough prep work is key for a satisfying finish.
Start with a good cleaning to remove grease and grime that builds up in kitchens.
While sanding is typically recommended for good paint adhesion, there are exceptions as mentioned.

What's the Best Paint for Kitchen Cabinets?
The best paint will depend on your cabinet material—wood, MDF, or laminate. Consider the finish you desire and how it fits into your kitchen's overall style.
Pay attention to elements like countertops and backsplashes when selecting colors. Durable, wipeable finishes like gloss, semi-gloss, or satin are usually ideal.
We've highlighted some top cabinet paints below.
Top Choices for Durable Cabinet Paint

For a lasting and easy-care finish, consider Modern Eggshell from a renowned brand. It's quick-drying, washable, and comes in various colors.
Best Paint for Easy Application
If you'd rather skip sanding and priming, try Chalk Paint from a popular brand. It simplifies the process, allowing you to start painting right away.
Best Cabinet Paint Kit
A well-known Cabinet Transformations kit includes everything needed to degloss and apply bonding and topcoat, suitable for both wood and laminate. Get it tinted to match your preferred color.
Best for Glossy Finish
If you desire a modern sheen, check out the Advance line from a reputable brand, which offers various finishes, including semi-gloss and high gloss, perfect for cabinetry.


