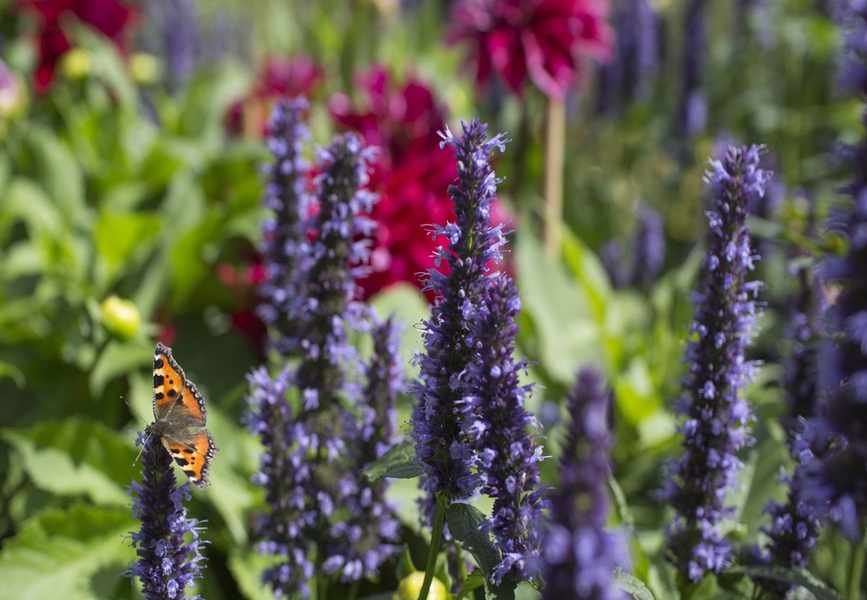
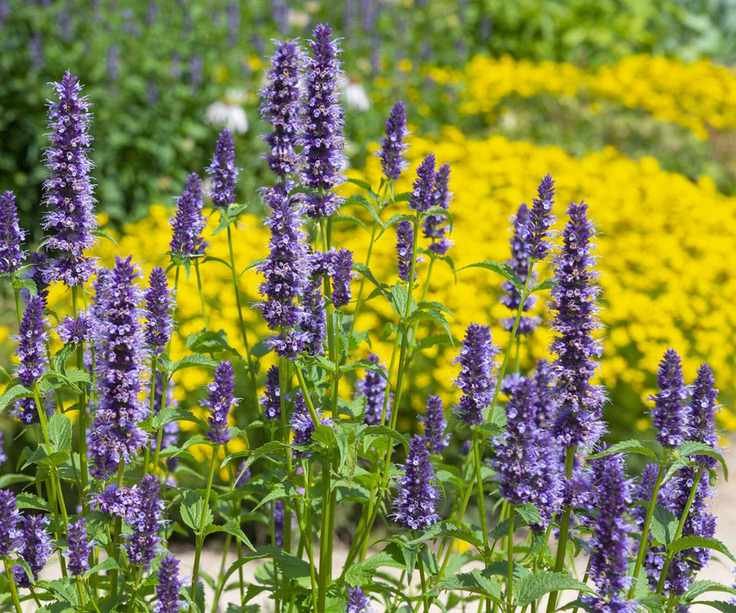
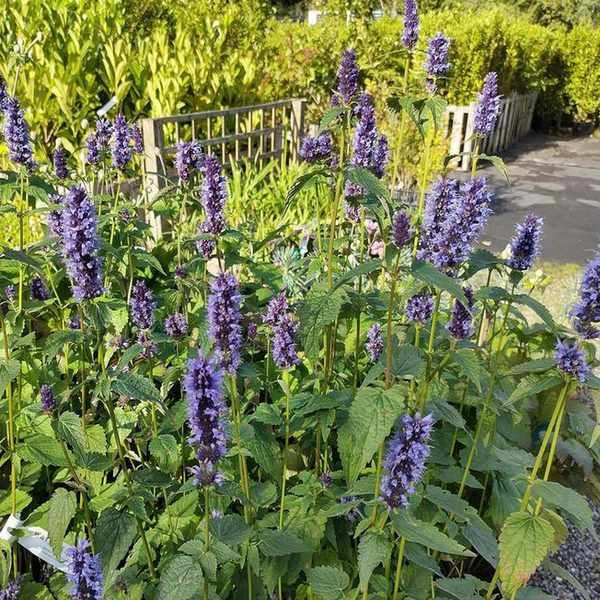
Hailing from North and Central America, hummingbird mint is a beloved perennial that attracts a variety of pollinators, including butterflies and hummingbirds. With over 20 species in the Agastache genus, these plants thrive in bright, sheltered gardens.
As an avid gardener, I've had the pleasure of cultivating varieties like 'Blackadder' and 'Blue Fortune' across different gardens in the UK. Their striking purple-blue flower spikes can grow up to 3 feet tall, adding both structure and height to garden borders.
If you're familiar with caring for hummingbird mint and wish to expand your garden, dividing these perennials can help you create more clumps for years to come. Here, I'll share the optimal time for division and the essential steps to ensure your success.
Steps to Divide Hummingbird Mint
Like other native perennials such as black-eyed Susans and coneflowers, you can easily increase the number of hummingbird mint plants in your garden through division. When dividing plants, following a few straightforward guidelines will help ensure thriving new plants, starting with knowing the best time of year to propagate.
When to Divide Hummingbird Mint
'Hummingbird mint, part of the Agastache family, should be divided every three to five years to maintain clumps that are healthy and abundant in blooms,' explains plant expert, Katie Sunderlage.
If you're unsure when to divide your plants, there are two main perspectives regarding hummingbird mint. While it's possible to divide this perennial in the fall, many experts, including Katie, believe that 'the ideal time for division is during spring.'
The perfect time to split hummingbird mint will depend on your location and US hardiness zone, but a mild, dry day between March and May usually yields the best results. In early spring, perennials break dormancy and utilize stored energy from their roots, resulting in vigorous growth. Therefore, dividing clumps in spring allows them to thrive quickly.
While fall division is an option, it's crucial that the new plants have at least eight weeks to establish themselves before the first frost hits. Fall temperatures can be unpredictable, and frost or snow can be detrimental to young plants that have just been divided. For these reasons, adding hummingbird mint division to your spring gardening tasks is a safer choice.

Operations Manager at Holland Group, Katie oversees the customer service department and purchasing. With a degree in Horticulture earned in 2008, she has been part of the green industry since 2005, sharing her passion for plants through work in numerous garden centers and an online retail platform.
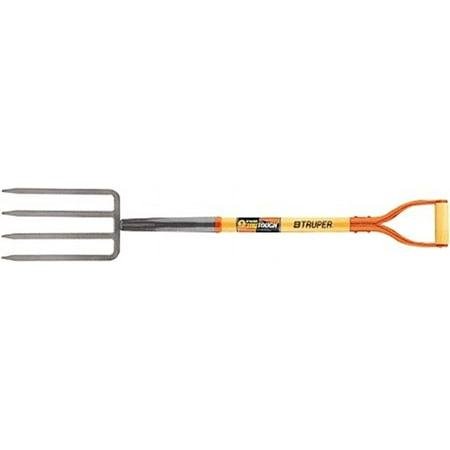
This Truper steel garden fork is perfect for loosening soil when dividing plants and is versatile for various gardening tasks.
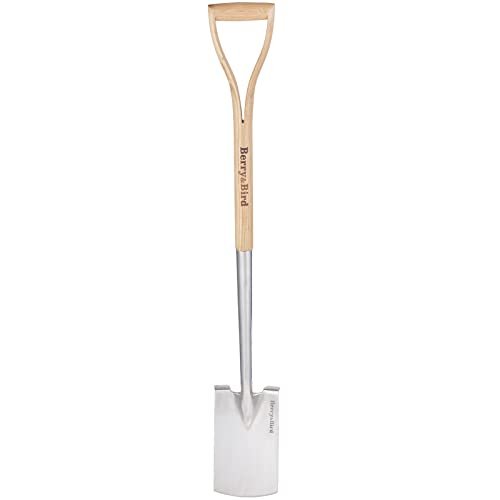
This garden spade is handy when dividing plants, making it easy to lift and cut through tangled roots.
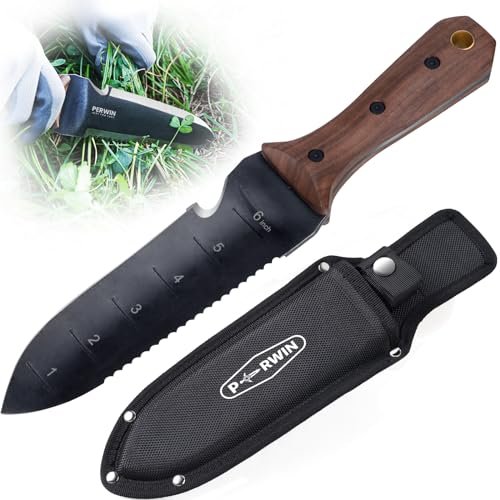
Hori Hori knives are versatile Japanese gardening tools that can assist with various tasks, including sawing through divided plants.
Steps for Dividing Hummingbird Mint
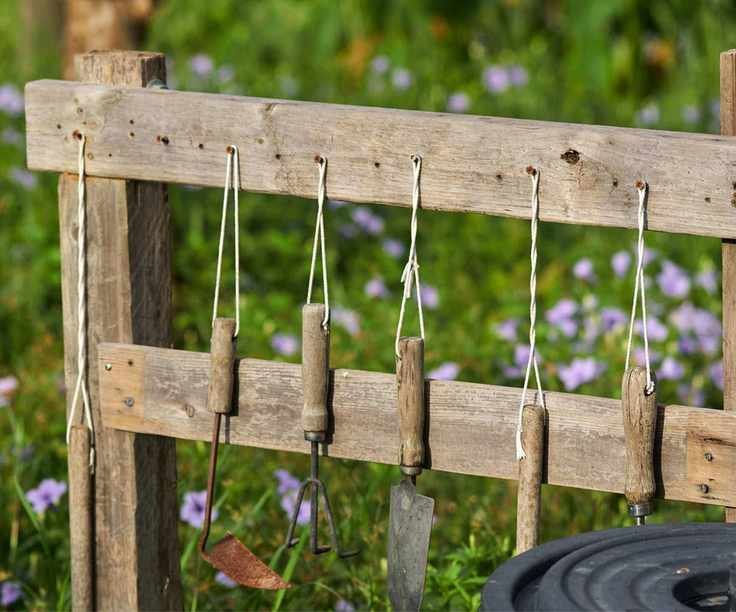
Before you start dividing your hummingbird mint, gather the necessary garden tools. Alongside a sturdy pair of leather gardening gloves, it's wise to have a robust garden fork or spade and a hand saw or pruning knife ready.
'Take your time and use your fork or spade to gently lift the root ball of this aromatic herb, digging in a circle around the clump. Ensure you dig with enough space on both sides to avoid damaging healthy roots,' advises Katie. Eventually, the plant will loosen, allowing you to lift the root ball out of the hole by hand.
'After you've lifted the plant, decide how many divisions to make based on the size of the clump. For smaller plants, dividing into two sections may be sufficient, while larger plants can be split into more parts.
'Utilize a sharp knife or pruning saw to separate your plant, ensuring that each division retains a healthy amount of roots and shoots,' Katie suggests. A helpful tip I picked up during my gardening career is to place the divided clumps in a bucket of water to minimize stress while they are out of the soil.
'It's best to plant them quickly to encourage natural growth, ensuring they have ample space to thrive and that the crown of the new plant is level with the soil,' Katie notes.
Finally, be sure to water the plants thoroughly after planting, and continue to provide moisture throughout spring and summer as they settle into your garden.
Frequently Asked Questions
Should I Mulch Divided Plants?
'Applying a layer of mulch after dividing hummingbird mint plants helps protect the new roots from temperature fluctuations and retains moisture during hot summer months,' advises Katie. 'Importantly, avoid fertilizers which can stress and harm recently planted divisions. Instead, mulching will supply all the nutrients your divided plants require.'
How Long Until My Divided Hummingbird Mint Plants Bloom?
With a bit of luck, your divided clump could bloom within the first year, especially if you divide in the early spring. It's beneficial to consider a bit of pinching out during the spring, as this prevents your new plant from growing tall stems that might flower. This encourages bushier growth and focuses energy on root development as it establishes itself in its new environment.
Timing is crucial when it comes to dividing plants, and patience is key. Waiting for the right moment to propagate hummingbird mint can yield the best results. As the temperatures warm in spring, your divided plants will show impressive growth throughout the growing season.
While many perennials respond well to division, some plants should never be divided. Propagation through this method is not suitable for certain shrubs or herbs, and our guide provides all the information you need.